

Getting a rollator walker is one of the most confidence-restoring decisions a person can make. Whether you're recovering from surgery, managing a balance condition, or simply want to move through your home and neighborhood with a little more security, a rollator gives you back something priceless: the freedom to go where you want, when you want, on your own terms.
But a rollator is only as safe and effective as the person using it correctly. Many first-time users make small setup or technique errors that can actually increase the risk of a stumble rather than reduce it. That's why physical therapists often spend dedicated time walking patients through proper rollator use before they leave a clinic — and why we've put together this complete, easy-to-follow guide.
In the sections below, you'll find everything you need to know: how to adjust your rollator to the right height, how to walk, turn, and brake safely, how to sit and stand without strain, and how to handle real-world challenges like thresholds, ramps, and tight hallways. Whether you're setting up a rollator for yourself or helping a parent or loved one get started, this guide has you covered.
What Is a Rollator Walker and Who Is It For?
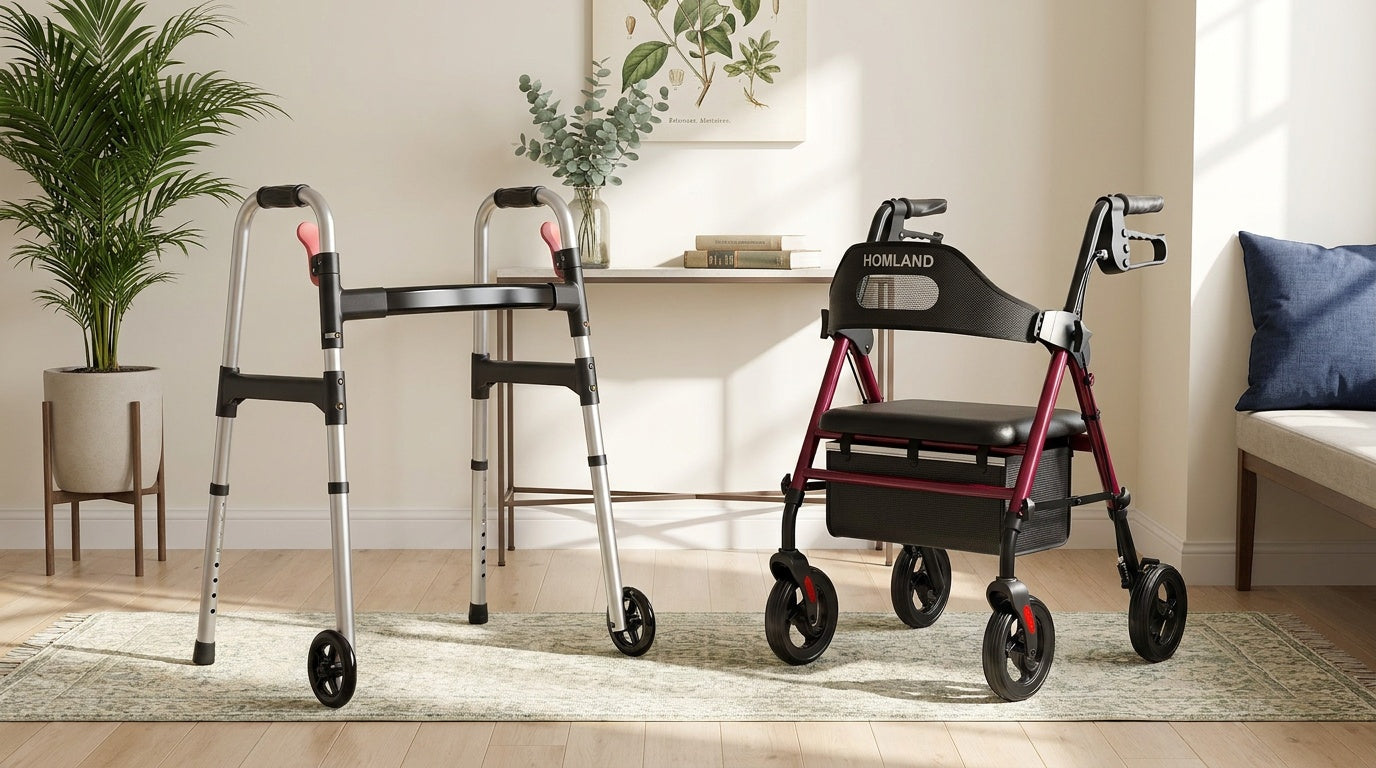
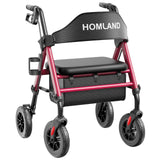
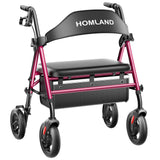
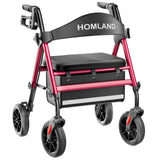
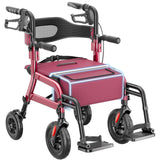
A rollator walker is a wheeled walking frame fitted with hand brakes, a padded seat, and usually a storage pouch underneath. Unlike a standard walker that you lift with each step, a rollator rolls forward as you walk — which makes it better suited to people who have a natural gait but need support for balance, endurance, or confidence. The built-in seat means you can pause and rest anywhere without searching for a chair, which is a genuine game-changer for anyone with limited stamina.
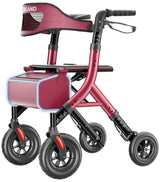
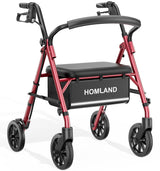
Rollators come in several configurations. A 4-wheel rollator is the most common and provides the most stability; a 3-wheel rollator is lighter and easier to maneuver in very tight spaces; an upright rollator promotes a taller, more natural posture by raising the handle position; and a bariatric rollator is engineered to support higher weight capacities. Physical therapists typically recommend rollators for people who have enough strength to control the brakes reliably but need extra support during walking. If you're unsure whether a rollator or a standard walker is better for your situation, it's worth a quick conversation with your doctor or a physical therapist.
Before You Start: Setup and Fit
The single most important thing you can do before taking your first step with a rollator is set it to the right height. A walker that's too low forces you to hunch forward, straining your back and shoulders. One that's too high makes your arms reach up awkwardly, reducing your control over the brakes. Neither position is safe — and both are uncomfortable.
How to Find the Right Handle Height
Stand upright in your normal shoes with your arms relaxed at your sides. The rollator's handles should align with the crease of your wrist. When you hold the handles and stand up straight, your elbows should be very slightly bent — roughly 15 to 20 degrees. This keeps your posture tall and lets your arm muscles absorb small vibrations without locking your joints. Most rollators, including those in the HOMLAND rolling walkers collection, feature tool-free height adjustment so you can dial in the fit in seconds without any tools.
Once the height is set, check that all four wheels sit flat on the floor and that the hand brakes engage smoothly when you squeeze them. Give the frame a gentle shake to confirm everything is locked in place. Never skip this step — it takes thirty seconds and can prevent a serious fall.
Step-by-Step: How to Walk with a Rollator Walker
Once your rollator is properly fitted, walking with it should feel natural within a few minutes of practice. The goal is to move with the rollator as a partner, not to lean on it like a crutch. Here's how physical therapists recommend you approach each step:
- Stand tall behind the rollator. Position yourself so your body is centered behind the frame, not off to one side. Your weight should rest comfortably through your legs, with your hands resting lightly on the handles for balance rather than bearing your full body weight.
- Push the rollator forward a comfortable step's length. Don't push it so far that you have to lunge to reach it. A good rule of thumb: keep the rollator within arm's reach at all times. Overreaching is a leading cause of balance loss.
- Step forward into the frame. Walk your weaker or more affected leg forward first (if one side is weaker), then bring your stronger leg forward to meet it. Keep your steps smooth and deliberate.
- Keep your eyes forward, not down. Looking at your feet pulls your chin down and shifts your center of gravity forward. Trust the rollator and look ahead — this actually improves your balance significantly.
- Maintain an upright posture. Resist the urge to hunch over the handles. Think of standing tall, shoulders relaxed, head level. Upright posture isn't just about appearances — it directly supports your balance and breathing.
With a little practice, this rhythm becomes second nature. Many users find they're moving more confidently after just one or two sessions.
How to Sit Down and Stand Up Safely
The built-in seat on a rollator is one of its most useful features — but it has to be used correctly. Before you sit, the single most critical step is engaging the brakes. A rollator that rolls away as you lower yourself is a fall waiting to happen.
Sitting Down
- Lock both brakes firmly. Squeeze both brake handles down and engage the locking mechanism (if your rollator has one) so the wheels cannot roll.
- Back up until you feel the seat against the back of your legs. Don't look behind you — shuffle backward slowly until you make contact.
- Reach back with both hands and grip the seat or armrests (if present). Lower yourself slowly and in a controlled way, keeping your weight centered.
Standing Up
- Make sure the brakes are still locked before you move.
- Scoot to the front edge of the seat so your feet are flat on the floor, hip-width apart.
- Place your hands on the seat beside your hips (not on the handles) and push up through your legs. Once standing and steady, then transfer your hands to the handles.
- Take a moment to find your balance before releasing the brakes and walking. Rushing this step is where many stumbles happen.
Turning, Navigating Tight Spaces, and Ramps
Turning corners and fitting through doorways takes a bit of practice, but the technique is straightforward once you understand it. When you need to turn, apply gentle pressure on the handle opposite to the direction you're going — press lightly on the right handle to steer left, and vice versa. Take wide, sweeping turns rather than sharp pivots, which can cause the rollator to tip. In tight spaces like narrow hallways or bathroom doorways, go slowly and use small adjustments rather than big pushes.
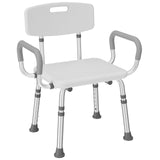
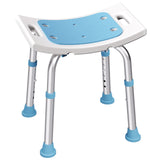
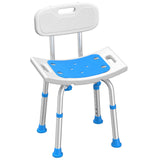
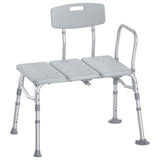
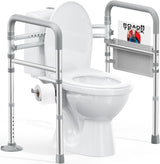
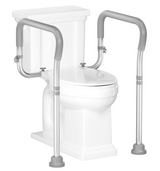
On ramps or inclines, approach at a controlled pace and apply gentle brake pressure to regulate your speed going downhill. When going uphill, lean slightly forward from your hips (not your waist) and take shorter steps. Avoid ramps that are steep, wet, or uneven if possible — and if you're setting up a bathroom or entryway, pairing your rollator with the right home safety products makes every transition safer. Many HOMLAND users combine their rollator with a shower chair and toilet safety rail to create a fully supported home environment.
How to Use the Brakes Correctly
The braking system is what separates a rollator from a basic wheeled cart — and understanding how to use it is non-negotiable for safe use. Most rollators have two types of braking action: resistance braking, where squeezing the handles partially slows the wheels (useful for controlled walking on slopes), and locking brakes, where pressing the levers all the way down locks the wheels completely in place for sitting and standing.
Practice applying both modes before you need them in real life. Squeeze the brakes gently while walking on a flat surface to feel how much resistance they provide. Then practice locking them fully so the motion becomes automatic. Many falls with rollators happen because a user forgets to engage the lock before sitting — building it into a routine habit (brakes first, always) is the simplest way to prevent this.
Common Mistakes to Avoid
Even experienced rollator users occasionally pick up habits that quietly reduce their safety. Here are the most common ones physical therapists flag:
- Leaning too far forward over the handles. This shifts your weight in front of your feet and dramatically increases fall risk. Keep your torso upright.
- Pushing the rollator too far ahead. You should always be walking inside or close behind the frame, not chasing it. Keep the rollator within one comfortable step's distance.
- Sitting without locking the brakes. This is the most dangerous and most preventable mistake. Lock the brakes every single time before sitting.
- Wearing slippery footwear. The rollator can only do so much if your shoes are working against you. Wear well-fitting, non-slip footwear whenever you use it.
- Overloading the storage pouch. The basket or pouch under the seat is for light items like a water bottle or a small bag — not heavy groceries. Excess weight affects balance and handling.
- Using the rollator on unstable surfaces without caution. Loose rugs, wet pavement, and deep pile carpet can all cause wheels to catch unexpectedly. Navigate these surfaces slowly and carefully.
Indoor and Outdoor Safety Tips
Rollators perform differently depending on the surface, and a little awareness goes a long way. Indoors, the biggest hazards are loose rugs (which can catch wheels mid-step), thresholds between rooms, and slippery kitchen or bathroom floors. Securing rugs with non-slip mats or removing them from high-traffic areas is one of the easiest home safety upgrades you can make. In the bathroom specifically, pairing your rollator with grab bars, a shower chair, or bed rails for nighttime transfers creates a layered safety net that physical therapists and occupational therapists consistently recommend.
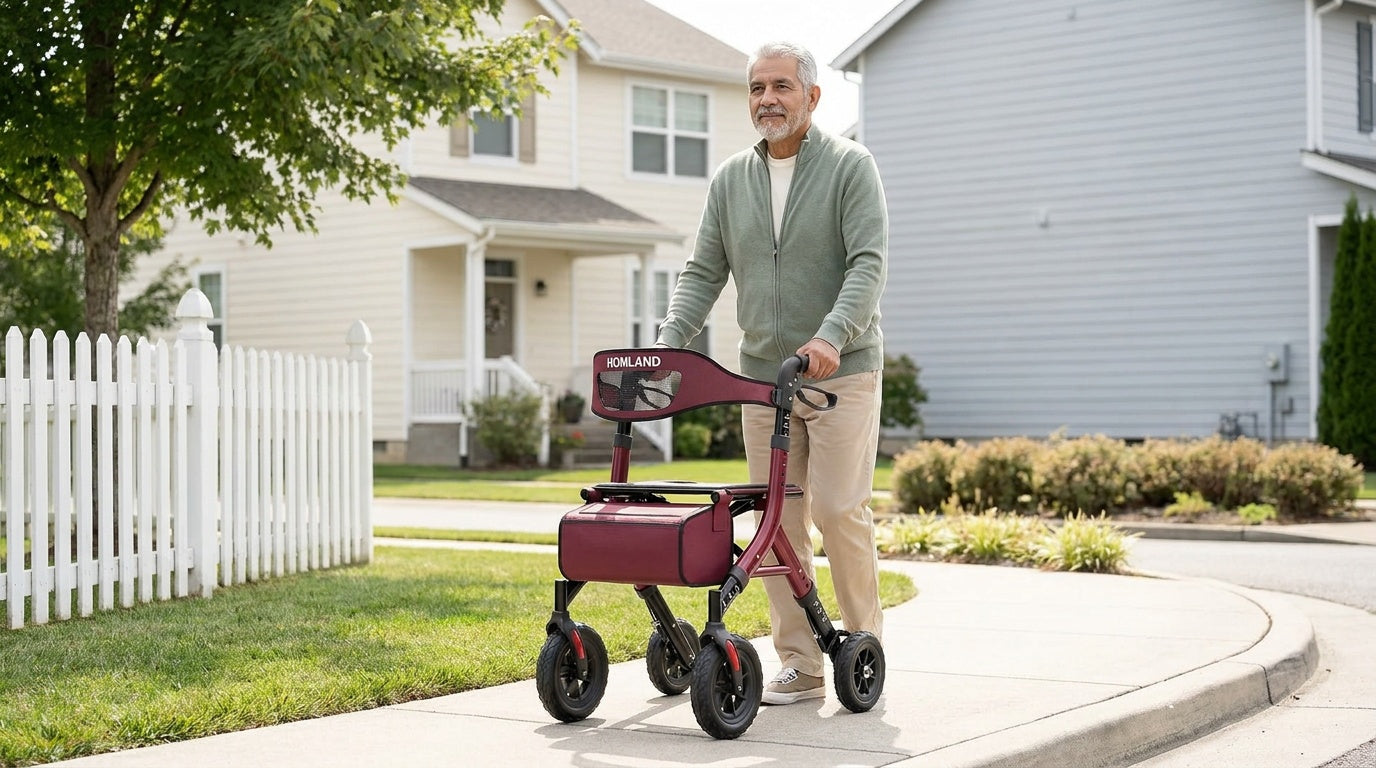
Outdoors, uneven pavement, gravel, and grass require slower, more deliberate movement. Larger wheels (typically 7.5 to 8 inches) handle outdoor terrain better than small wheels designed primarily for indoor use. Before heading out, check the weather — wet or icy conditions are best avoided unless you have no alternative. When navigating curb cuts or raised edges, approach at a slight angle rather than straight on to reduce the chance of a wheel catching.
Choosing the Right Rollator for Your Needs
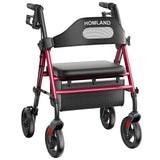
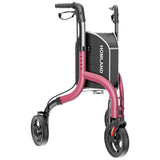
The best rollator is the one that fits your body, your lifestyle, and your home. A few key considerations: if most of your walking is indoors in a smaller home or apartment, a 3-wheel rollator or a compact 4-wheel model may maneuver more easily through tight spaces. If you spend time outdoors on sidewalks or in the community, a 4-wheel rollator with larger wheels provides better stability and a smoother ride. If posture or back discomfort is a concern, an upright rollator raises the handle position so you walk tall without hunching. And if you or your loved one needs higher weight support, a bariatric rollator is engineered specifically for that purpose.
HOMLAND's rolling walkers collection covers all of these configurations, with tool-free assembly and adjustable heights across every model. Every HOMLAND rollator is authorized by licensed Doctors of Physical Therapy, FSA/HSA eligible, and backed by a 1-year manufacturer warranty plus a 1-year extended warranty — so you're covered long after the purchase. Products ship from a US local warehouse, which means fast delivery without the wait. For caregivers shopping on behalf of a loved one, that combination of professional endorsement and purchase confidence makes the decision a lot easier. You can also explore the full HOMLAND product lineup to find complementary home safety solutions that work together as a complete system.
A Final Word: Small Steps, Big Difference
Learning to use a rollator walker correctly doesn't take long — but it does make an enormous difference. The difference between shuffling nervously and walking with genuine confidence. The difference between relying on someone else and doing things independently. The difference between staying home and feeling like yourself, versus a life organized around limitations.
Start in a familiar space, practice the basics until they feel automatic, and don't hesitate to ask a physical therapist for a quick in-person session if you'd like personalized guidance. Once you've got the technique down, the rollator stops being a piece of equipment and starts being simply part of how you move through your day — safely, comfortably, and on your own terms. That's exactly what it's designed for.
Ready to Find the Right Rollator for You?
Explore HOMLAND's full range of rollator walkers — designed for real life at home, endorsed by licensed physical therapists, and eligible for FSA/HSA spending. Questions about which model fits your needs? Our team is happy to help.
Contact Us Shop Rolling Walkers