



Coming home after hip replacement surgery is a milestone worth celebrating — and it can also feel a little overwhelming. The hospital gave you a discharge packet. Your surgeon mentioned precautions. Someone mentioned a walker, a raised toilet seat, maybe a shower chair. But nobody sat down with you at your kitchen table and walked you through exactly what the next eight weeks actually look like day by day, room by room.
That's what this guide is here to do. Informed by guidance from licensed Doctors of Physical Therapy (DPT), this week-by-week hip replacement recovery plan covers what your body is doing at each stage, what movements to protect against, and — most practically — which pieces of home equipment will help you move through your own house safely and independently from day one. Whether you're the person recovering or the family member setting up the house before they arrive home, you'll find everything you need right here.
Before You Come Home: Setting Up for Success
The best time to prepare your home for hip replacement recovery is before surgery, not after. When you return home in the first 24 to 48 hours post-surgery, you'll be tired, your hip will be tender, and the last thing you want to do is figure out where to put a shower chair or realize your toilet is too low. Having the right equipment in place before you walk through the door turns your home into a recovery sanctuary rather than an obstacle course.
Physical therapists consistently recommend arranging your main living space so that everything you need — your phone, medications, water, TV remote, and a light snack — is within arm's reach from your primary resting chair. Choose a firm chair with armrests at a height that lets your hips sit above your knees. Soft sofas may feel inviting, but they make standing up harder and can violate the hip precautions your surgeon outlined. Setting up a temporary bedroom on the ground floor eliminates stair navigation during the most vulnerable early days.
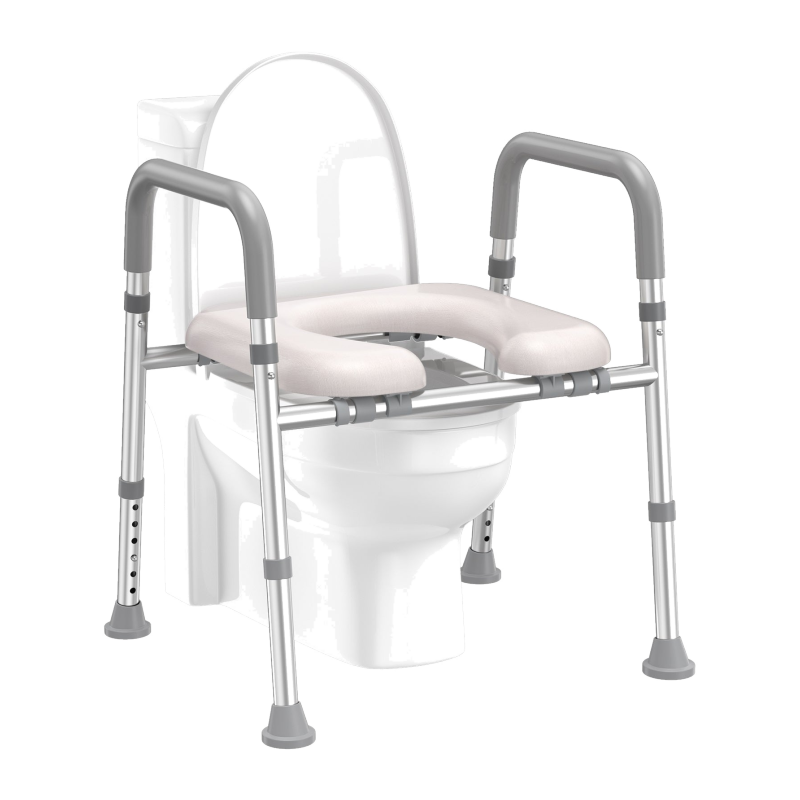
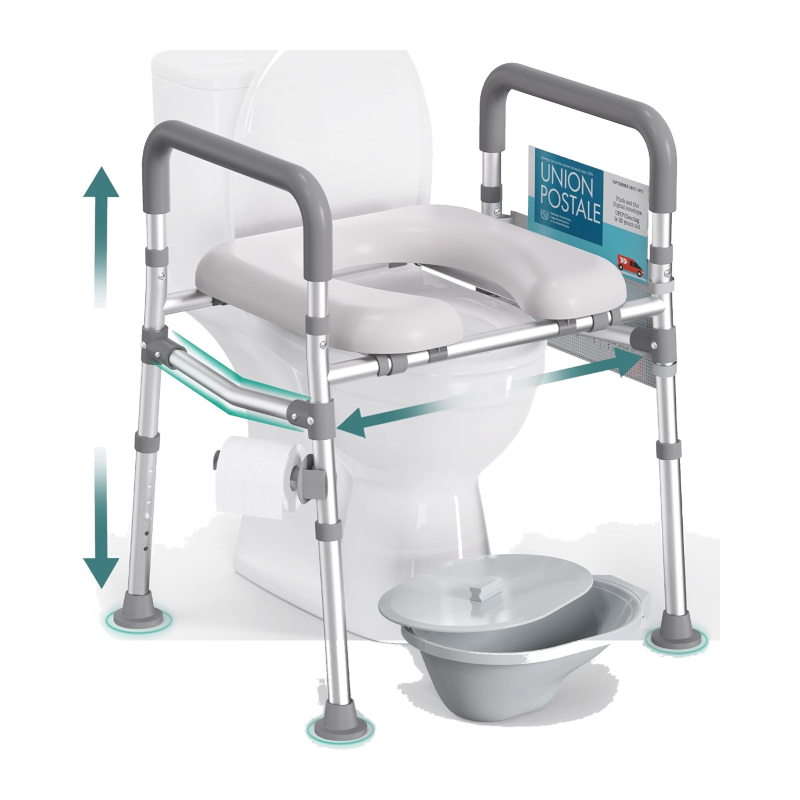
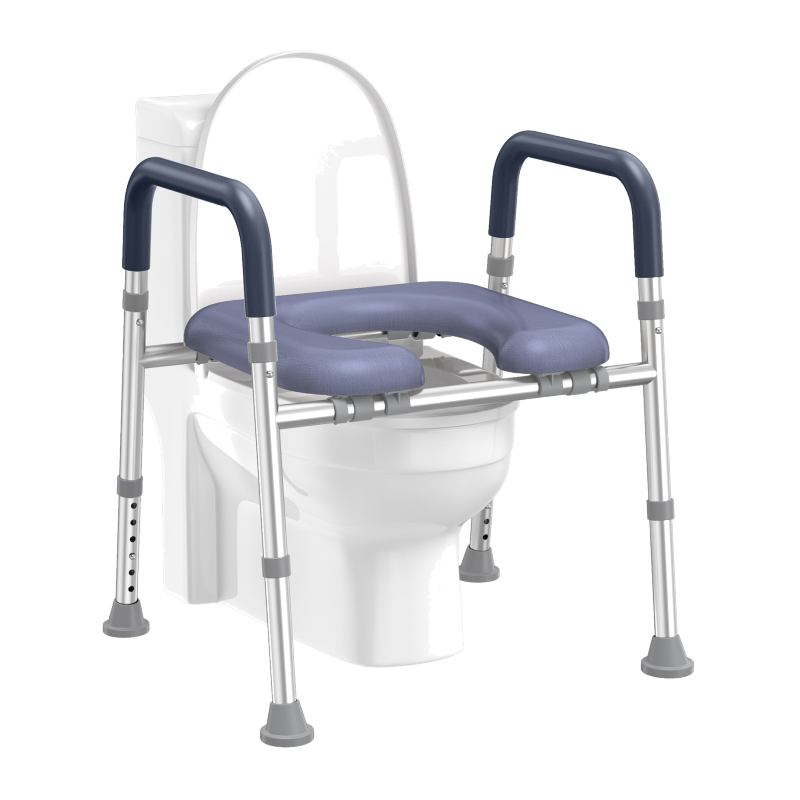
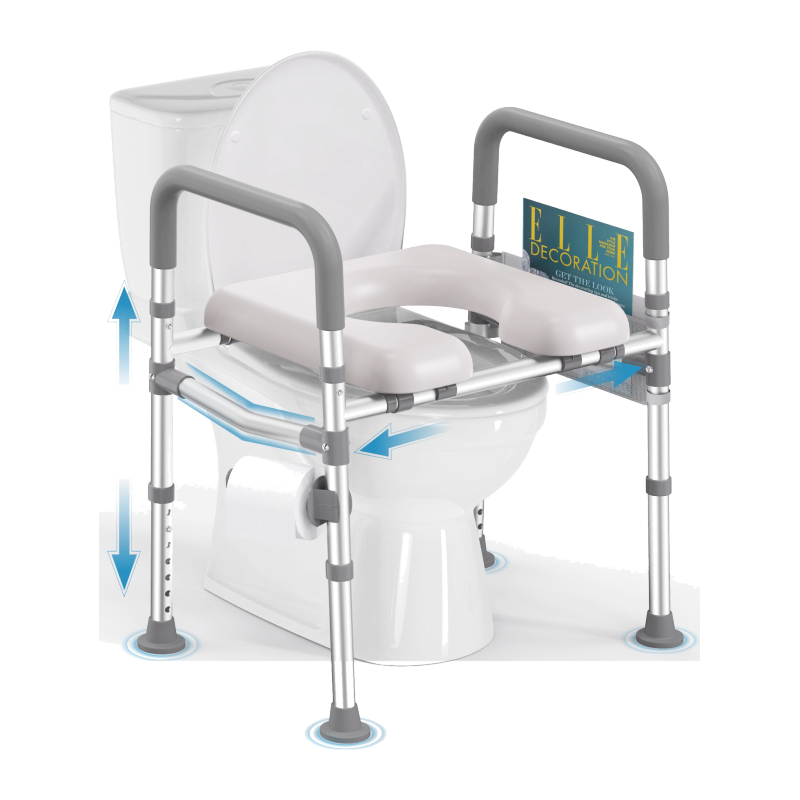
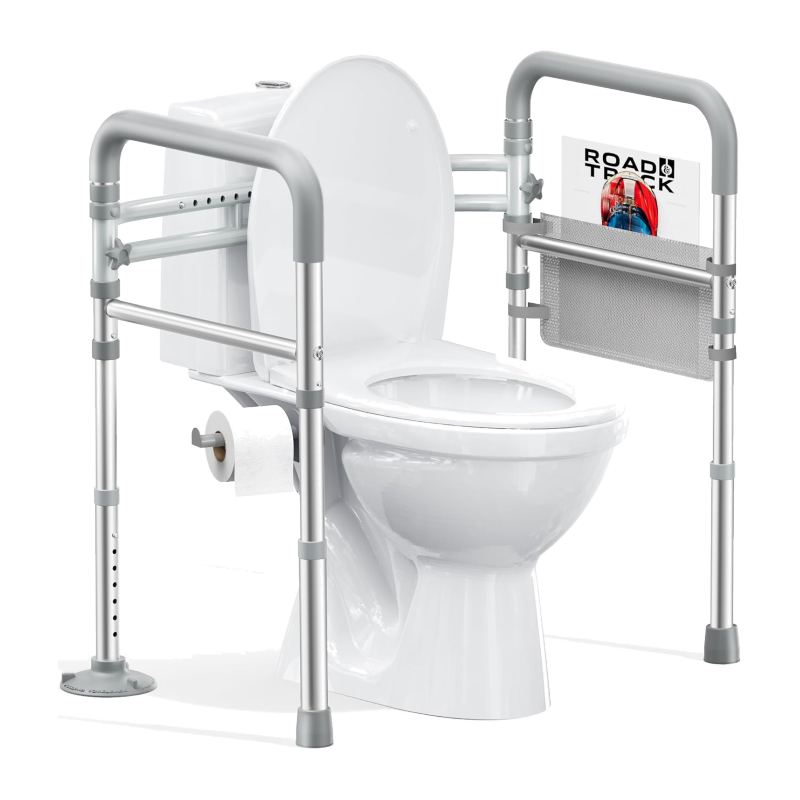
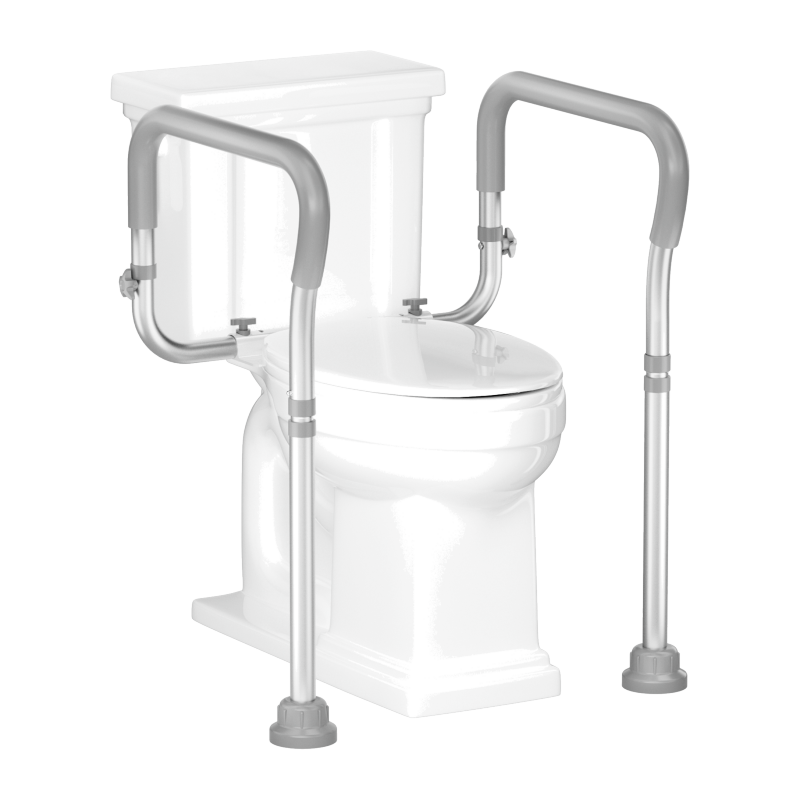
In the bathroom, install your toilet safety rail and raised toilet seat before discharge day. Standard toilets sit at roughly 15 inches, which puts most people's hips well below the 90-degree threshold surgeons want to protect. A raised toilet seat combined with safety rails on both sides gives you the lift and the grip to sit and stand without strain or risk.
Weeks 1–2: The First Steps at Home
What's Happening in Your Body
During the first two weeks, your body is in active healing mode. Swelling, bruising, and fatigue are completely normal — your immune system is working hard. Most people are walking short distances with a walker within 24 hours of surgery, but stamina is limited. You may find that a 10-minute walk to the kitchen and back feels like a significant effort. That's expected, and it's not a sign that something has gone wrong.
Key Hip Precautions to Follow
Your surgeon will give you specific precautions based on your surgical approach (anterior, posterior, or lateral). Common guidelines during weeks one and two include keeping the hip from bending past 90 degrees, avoiding crossing your legs, and not rotating the foot inward. These precautions protect the new joint while surrounding muscles and soft tissue begin to stabilize.
Equipment That Earns Its Place This Week
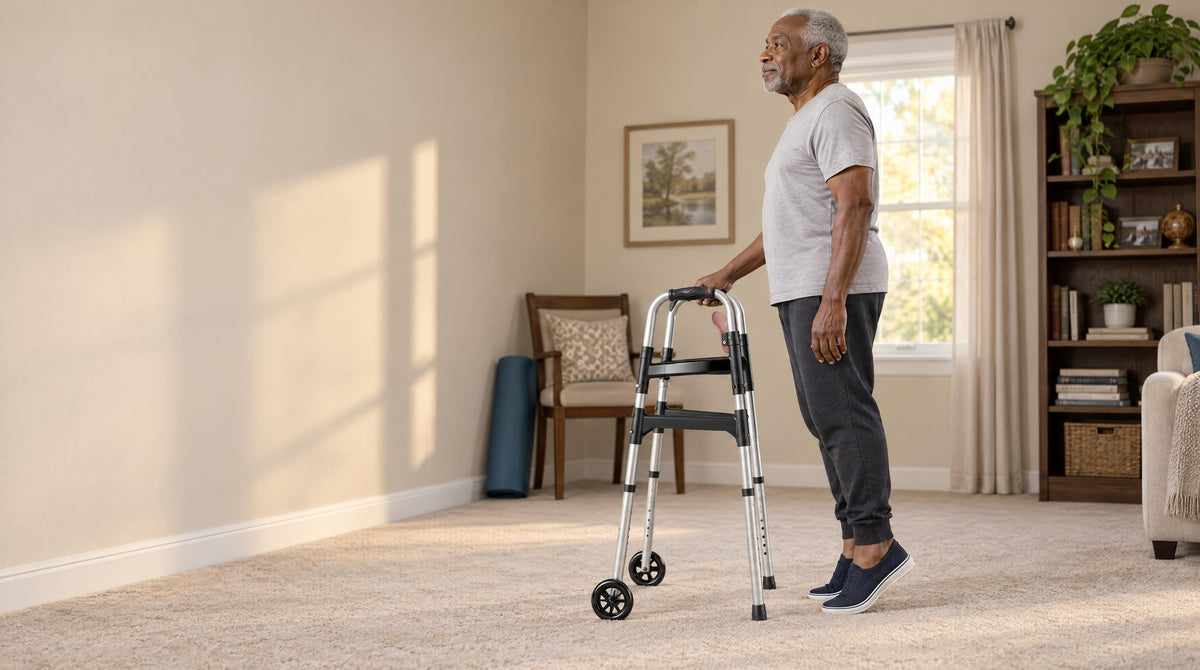
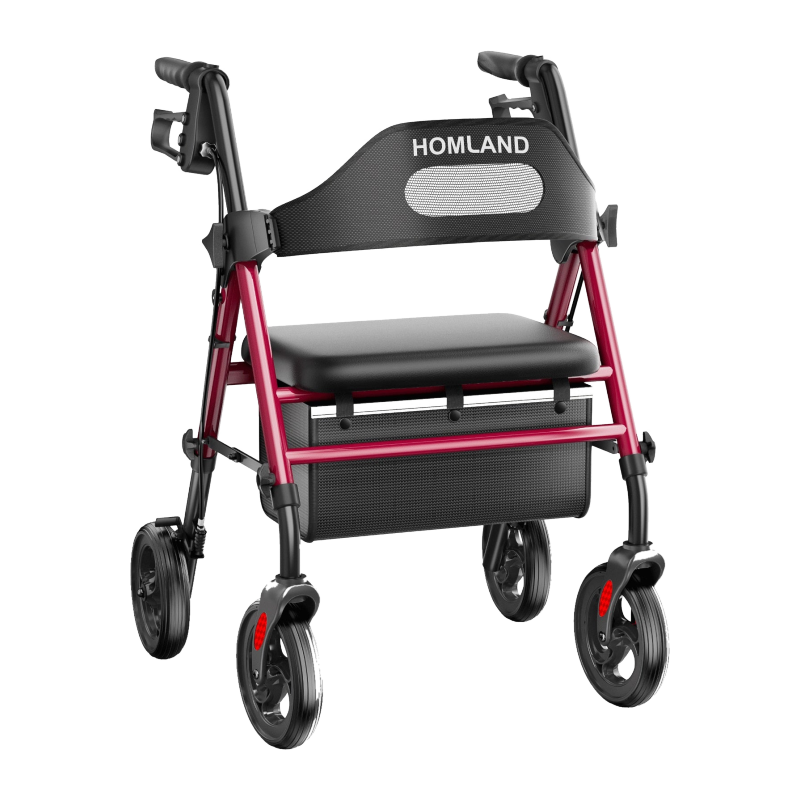
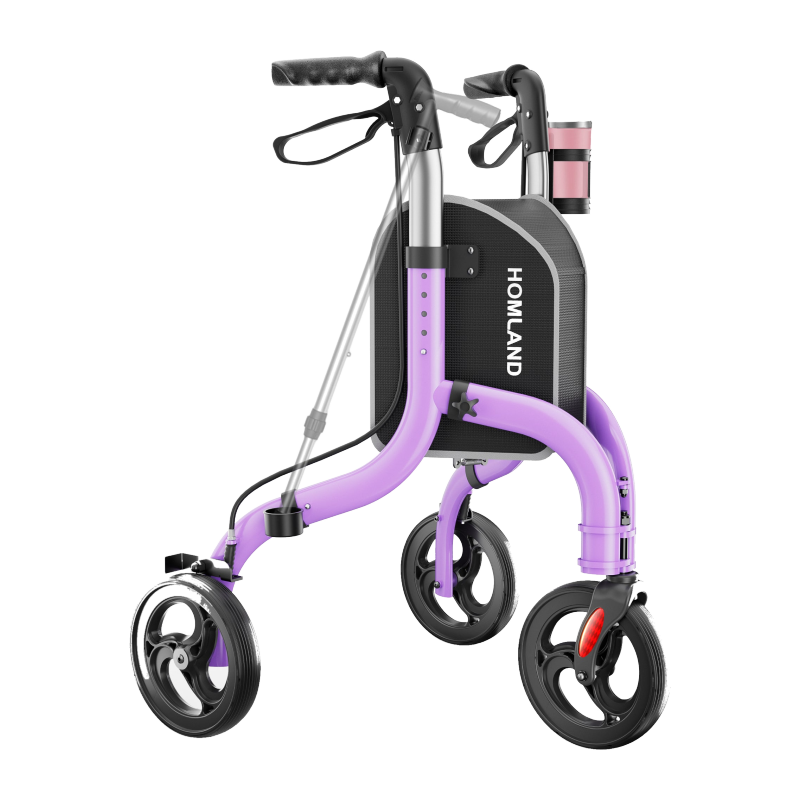
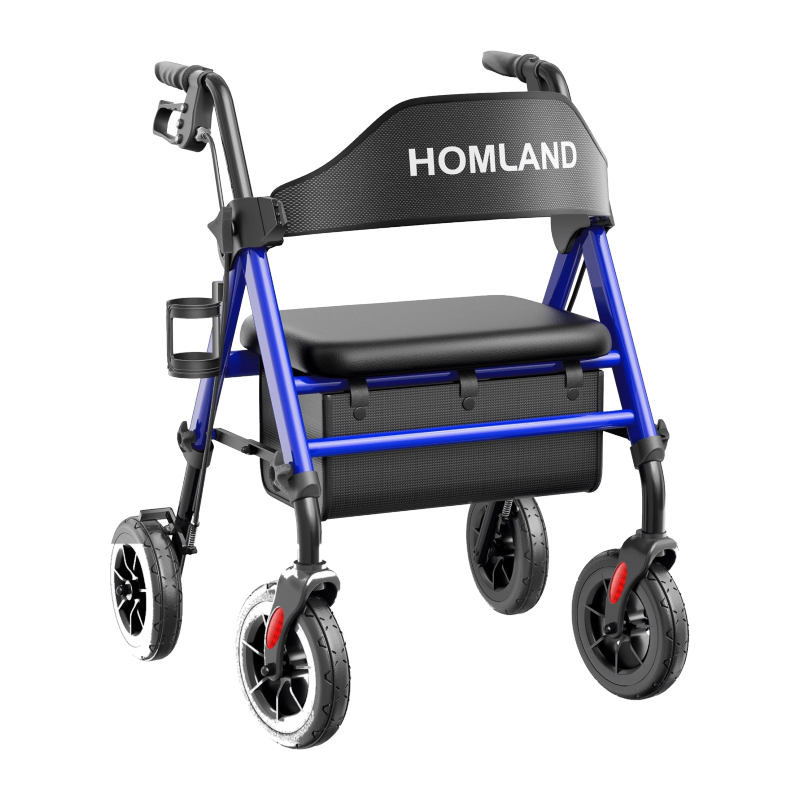
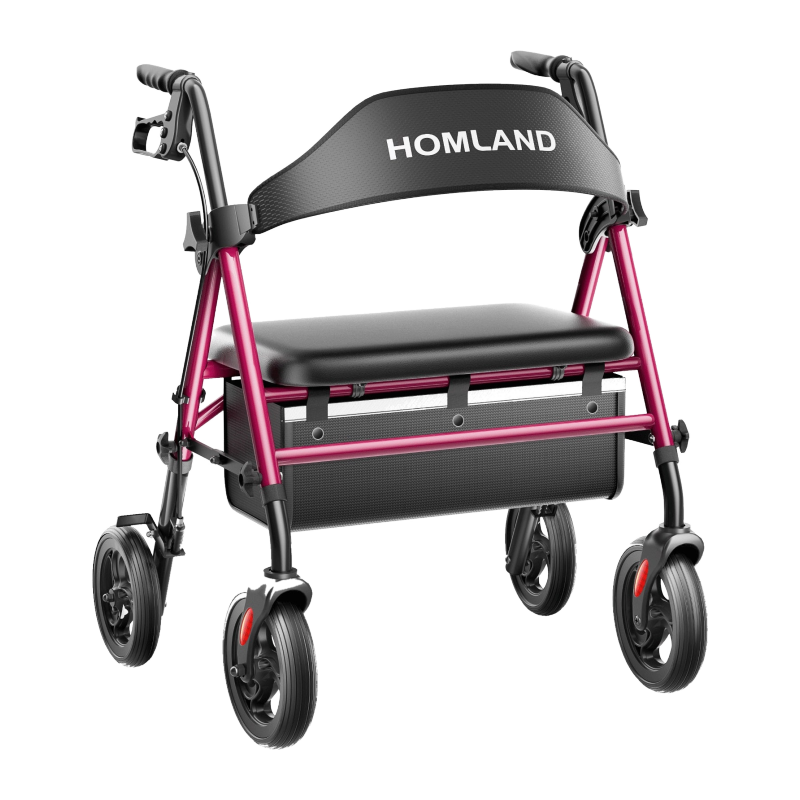
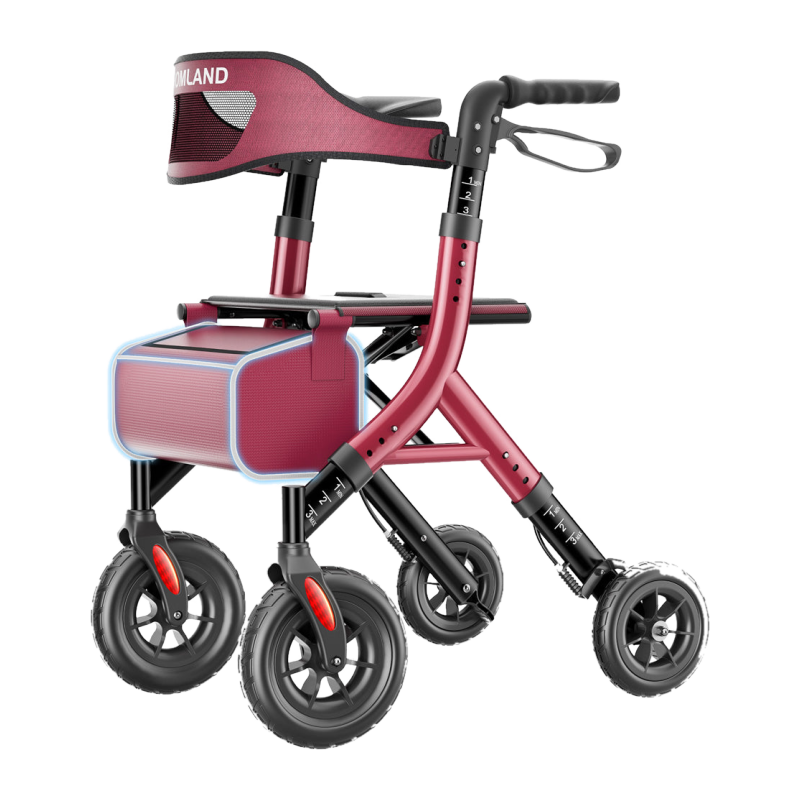
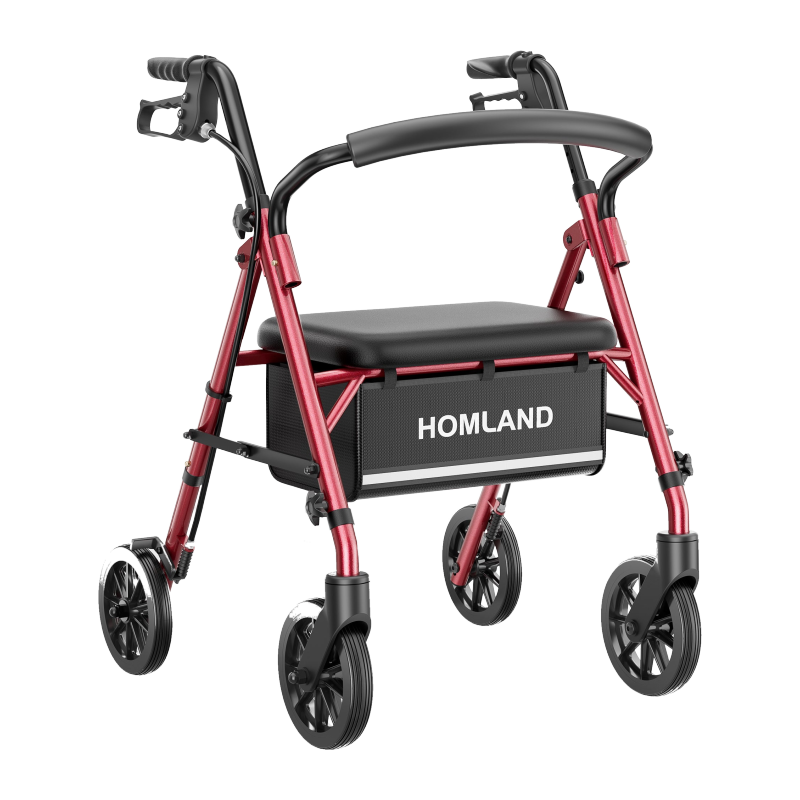
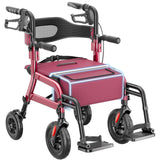
Rolling walker: Your surgeon or physical therapist will likely send you home with a walker. A four-wheel rolling walker offers the smoothest experience for most hip replacement patients — it rolls with you rather than requiring you to lift and place it with every step, which reduces the jarring movement that a standard walker creates. If your surgeon has prescribed more stability support, a standard walker may be appropriate for the earliest days before you transition to a rollator.
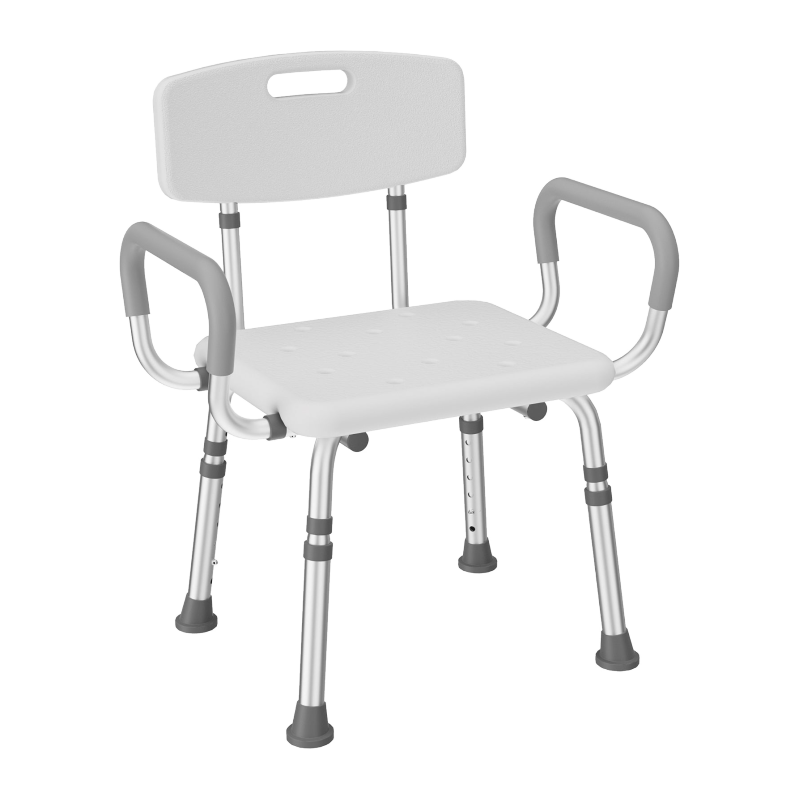
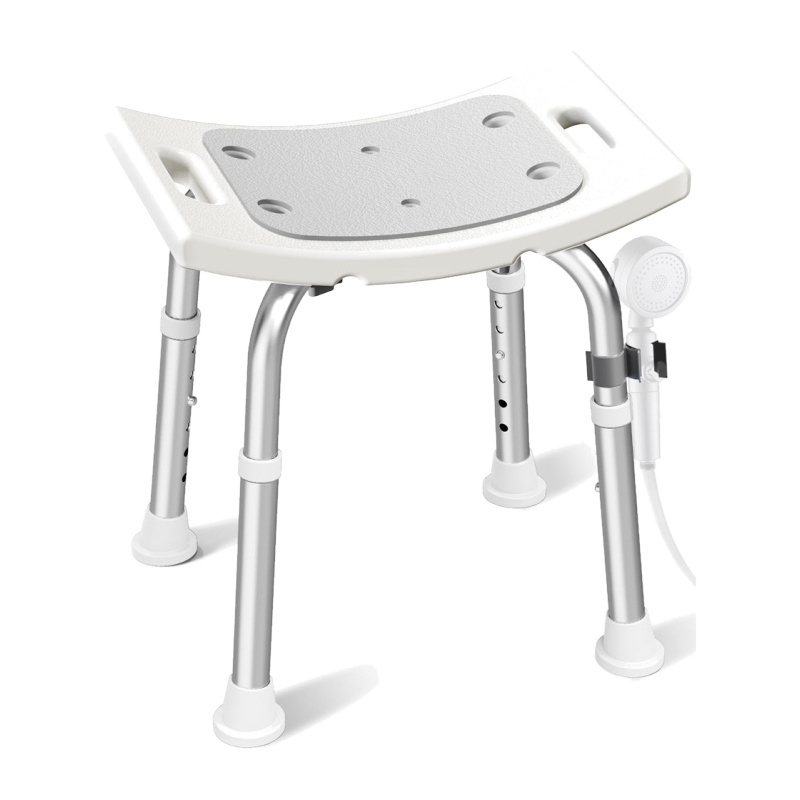
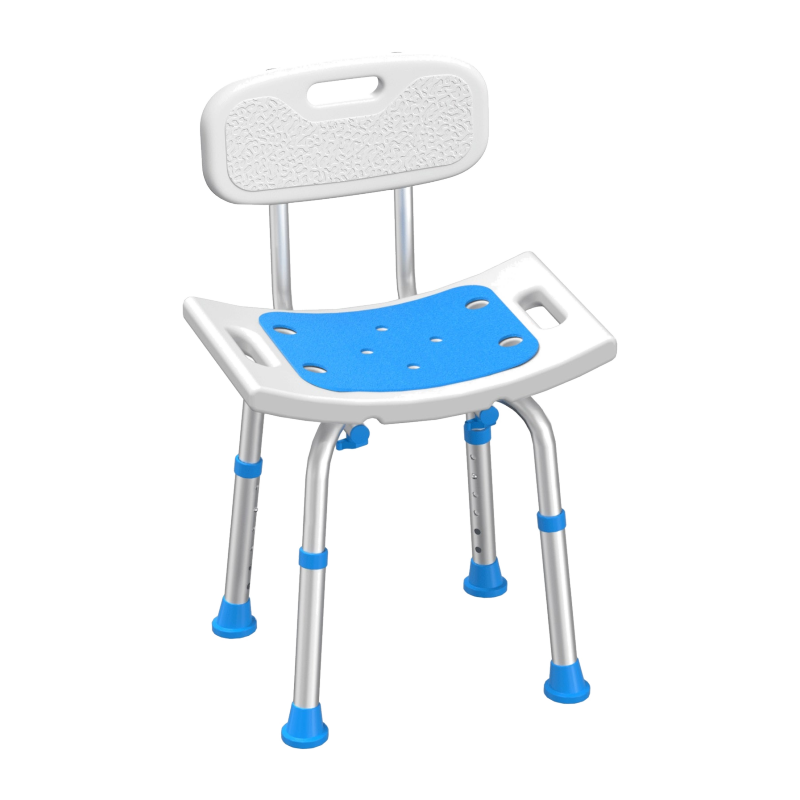
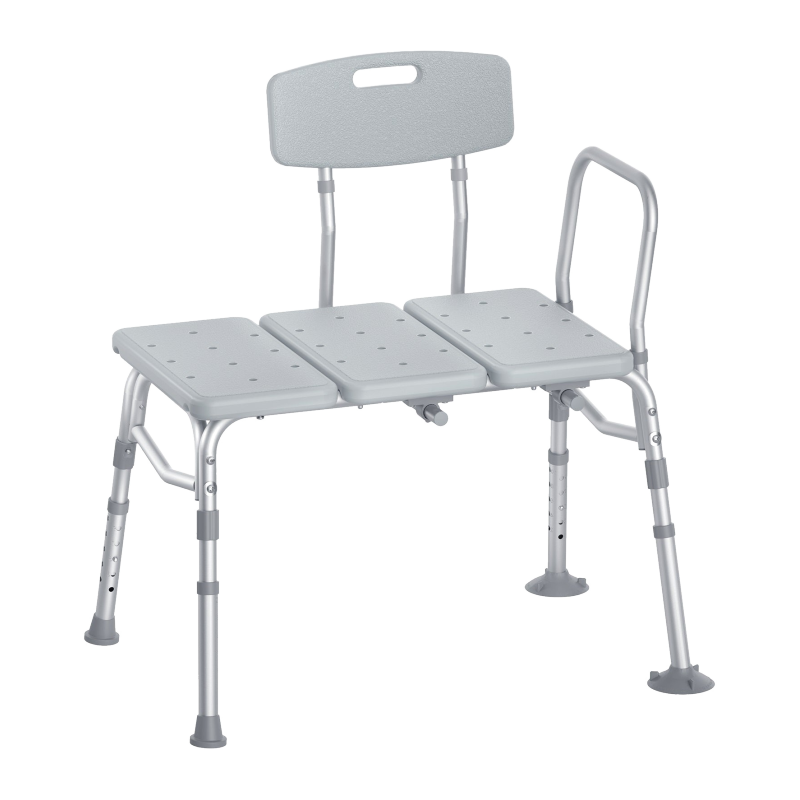
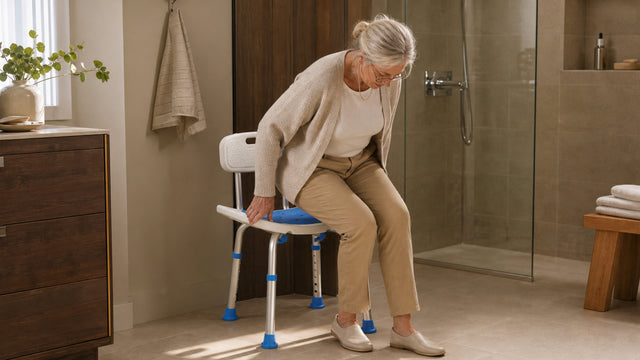
Shower chair or transfer bench: Showering during the first two weeks requires sitting down. Standing in a wet shower long enough to wash safely is both exhausting and risky when your hip is still tender and your balance is adjusting. A shower chair or transfer bench lets you slide in from outside the tub, keeping your hip in a safe position throughout the process. This is one of the pieces of equipment that makes the biggest quality-of-life difference in early recovery — bathing without worry, from the comfort of your own bathroom.
Bed rails: Getting in and out of bed is harder than most people anticipate. Bed rails give you something solid to grip when rolling to the side and pushing up to stand, protecting your hip and sparing your arm and shoulder from compensating in uncomfortable ways.
Weeks 3–4: Building Confidence and Routine
What's Happening in Your Body
By week three, most people notice a meaningful uptick in energy. Swelling is typically starting to reduce, and pain is more manageable with over-the-counter options rather than prescription medication. Your physical therapist (whether in-home or at an outpatient clinic) will begin introducing strengthening exercises for the hip abductors and quadriceps — the muscles that stabilize the new joint during walking. Walking distances are extending, and you may begin navigating stairs with supervision.
Keeping Your Independence at Home
This is the stage where a well-equipped home really pays off. You're moving more, but you're still navigating the house carefully. The equipment from weeks one and two remains important — don't rush to put it away just because you're feeling better. Physical therapists often note that the mid-recovery window (weeks three and four) is when people become overconfident and take risks they shouldn't. Keep your walker with you for all indoor movement, and continue using the shower chair and raised toilet seat.
This is also a good time to assess your footwear. Slip-on shoes and socks can be a hazard. Shoes with a firm sole and a back (not slides or mules) are worth wearing even around the house to reduce fall risk and provide ankle support during your lengthening walks.
Weeks 5–6: Expanding Your World
What's Happening in Your Body
Most patients are cleared to drive (in a car without manual transmission, operated with the non-surgical leg) and can manage longer walking distances by weeks five and six. The surgical incision is typically well-healed externally, though internal healing continues for several more months. Hip precautions may be relaxed depending on your surgeon's protocol and your individual progress — always confirm any changes with your care team before adjusting behavior.
Adjusting Your Equipment Setup
Some patients transition from a four-wheel walker to a single-point cane around this time, under the guidance of their physical therapist. The key is not rushing this transition based on how you feel on a good day — the goal is consistency on all days, including tired afternoons or mornings when stiffness runs higher. Your shower chair and bathroom safety equipment should remain in place until your PT gives a specific green light for their removal.
Weeks 7–8: The Home Stretch
What's Happening in Your Body
By week eight, the majority of hip replacement patients are walking without a mobility aid on even surfaces and have returned to many normal daily activities — grocery shopping, light cooking, and socializing. Strength and endurance continue building for up to 12 months as the surrounding muscles fully adapt to the new joint. Most hip precautions are lifted between weeks six and twelve, depending on the surgical approach and the surgeon's assessment.
Keeping Safety Equipment Longer Than You Think
Here is something physical therapists want every recovering patient to hear: just because you can do something without the equipment doesn't always mean you should remove it immediately. Fall risk remains elevated for several months post-surgery, particularly during nighttime bathroom trips when the brain is less alert. Many people choose to keep their toilet safety rail and bed rail in place permanently — not as a sign of limitation, but as a smart, permanent upgrade to home safety. After all, those are investments in everyday confidence, not admissions of difficulty.
Complete Hip Replacement Recovery Equipment Checklist
Before your discharge date, use this list to confirm your home is ready. All of the items below are FSA/HSA eligible when purchased for medical use, and HOMLAND products are backed by a 1-year manufacturer warranty plus a 1-year extended warranty, shipped fast from US local warehouses.
- Rolling walker or standard walker — for safe ambulation from day one (see rolling walkers or standard walkers)
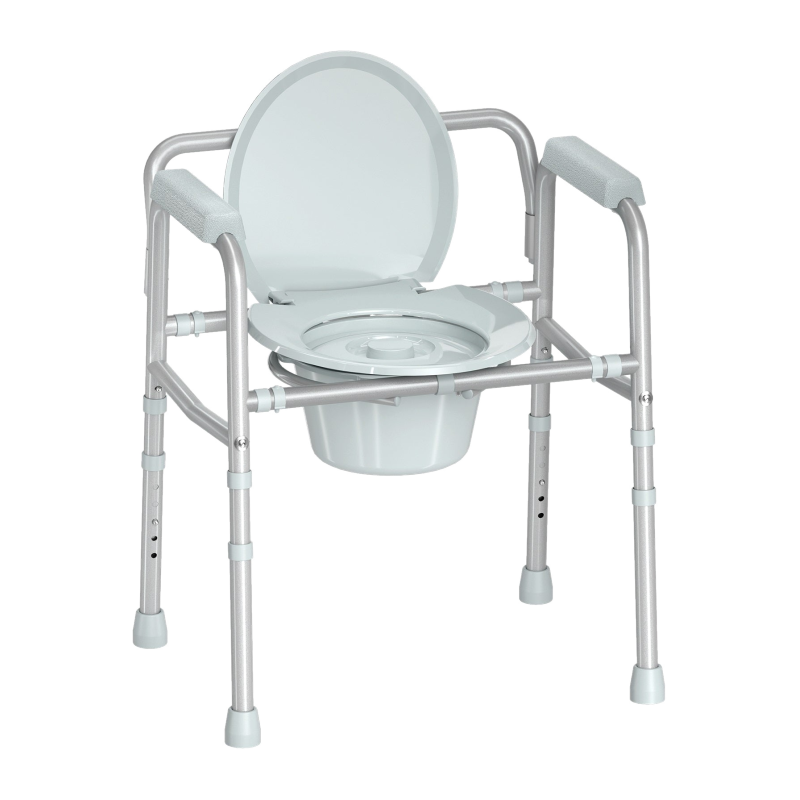
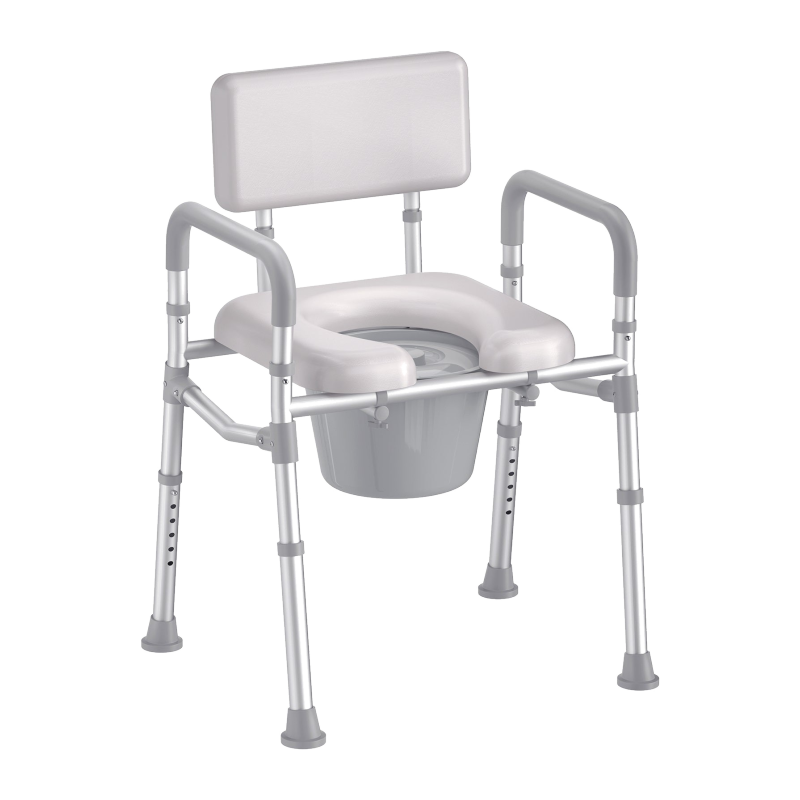
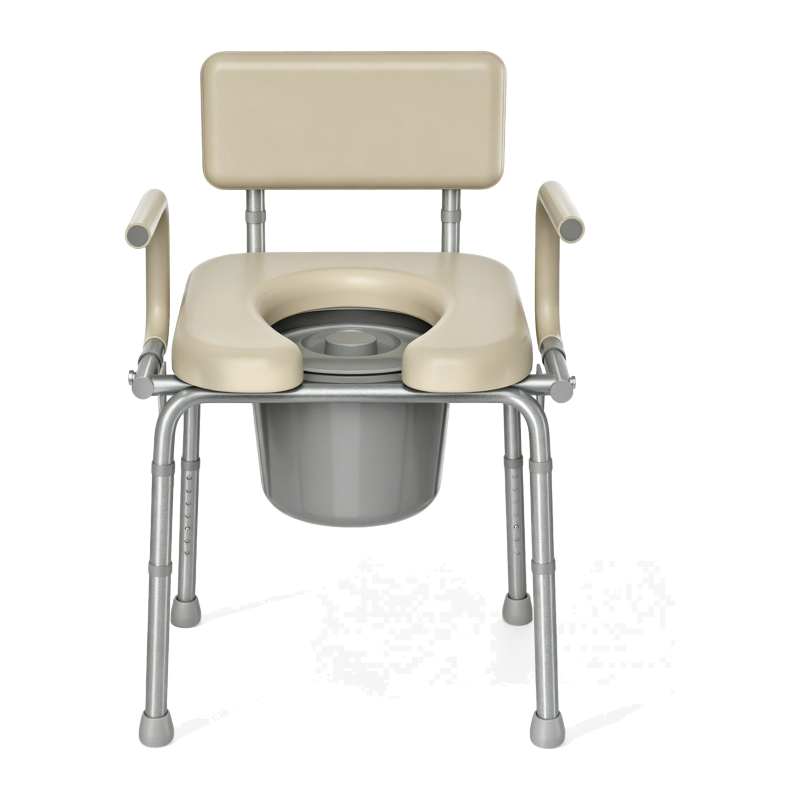
- Raised toilet seat with safety rails — keeps hip above 90 degrees and provides push-up support (browse toilet safety rails)
- Shower chair or transfer bench — enables safe, seated bathing without crossing hip precautions (shop shower chairs)
- Bed rail — supports safe transfers in and out of bed, especially at night (browse bed rails)
- Reacher/grabber tool — helps pick up items from the floor without bending past 90 degrees
- Long-handled sponge and shoe horn — for bathing and dressing without excessive bending
- Non-slip bath mat — reduces wet-floor fall risk in the bathroom
- Firm, armchair-style recliner or chair — for main living area seating that makes standing up manageable
You can browse HOMLAND's full lineup of recovery-ready home equipment at the HOMLAND product collection — every item is designed for tool-free assembly, adjustable to your specific height, and built to support up to 500 lbs on select models so you can lean in with complete confidence.
Tips for Caregivers and Family Members
If you're the spouse, adult child, or close friend supporting someone through hip replacement recovery, your role matters enormously — and it doesn't require medical training. The most helpful thing you can do in the first week is handle the logistics: installing equipment before the patient arrives home, stocking the kitchen with easy-to-prepare meals, and removing tripping hazards like area rugs and low coffee tables from walkways.
Beyond logistics, the most powerful support you can offer is presence without hovering. Recovery goes better — physically and emotionally — when the recovering person feels in control of their own movement and decisions. Walk alongside rather than holding on. Ask before assisting. Let them try before stepping in. The goal of every piece of equipment in this guide is to help your loved one move through their own home on their own terms, with you nearby for peace of mind rather than as a constant physical support.
For caregivers managing purchases: HOMLAND products are FSA/HSA eligible, arrive quickly from US local warehouses, and come with a 1-year manufacturer warranty plus 1-year extended warranty. That means less time chasing down replacements and more time focusing on what actually matters.
When to Call Your Care Team
Recovery generally follows a predictable upward curve, but there are specific signs that warrant a call to your surgeon or care team right away. These include sudden increased pain or swelling that isn't responding to elevation and ice, redness or warmth spreading around the incision site, fever above 101°F, calf pain or swelling (a potential sign of blood clot), or a clicking or popping sensation in the new joint accompanied by pain or instability. When in doubt, call. Your care team would far rather field a precautionary call than manage a complication that was flagged too late.
For general questions about equipment, adjustments, or day-to-day home safety during recovery, you can also contact the HOMLAND team directly — we're here to help you figure out what you need and when you need it.
Recovery Happens at Home — Make Yours Count
Hip replacement surgery is one of the most common and most successful procedures in modern medicine, and the recovery — while real and requiring patience — is completely navigable with the right preparation. Week by week, your strength comes back, your confidence grows, and your home stops feeling like an obstacle and starts feeling like the safe, comfortable place it's supposed to be.
The equipment you put in place isn't a symbol of limitation — it's a symbol of smart planning. A shower chair that lets you bathe without fear. A raised toilet seat that protects your healing hip. A walker that takes you from the bedroom to the kitchen and back without incident. These are the tools that keep you home, not back in the hospital. And that's exactly what HOMLAND is built to support.
Ready to Set Up Your Recovery at Home?
Browse HOMLAND's full lineup of DPT-authorized, FSA/HSA eligible recovery equipment — designed for real people, real homes, and real independence. Fast shipping from US local warehouses, with a 1-year manufacturer warranty plus 1-year extended warranty on every product.
Have questions about what's right for your recovery stage? Contact our team — we're happy to help.