
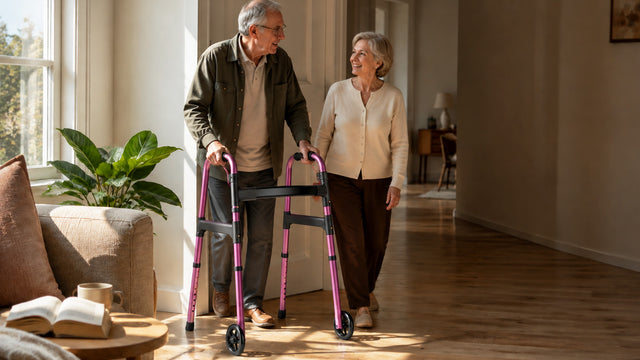

Think about the last time you stepped into a wet shower, balanced on one foot to step over the tub wall, or pushed yourself up from a low toilet seat. For most people, those moments pass without a second thought. For someone returning home after hip surgery, or a parent whose balance has started to shift with age, each of those transitions carries real risk.
According to the CDC, approximately 235,000 people are treated in emergency rooms each year for bathroom injuries — and falls are the leading cause. The bathroom, with its wet surfaces and hard edges, is the most common place those incidents happen. A well-placed grab bar changes that equation. It gives you something solid to lean into and push from, so the bathroom stays a place of privacy and routine, not anxiety.
This guide covers everything you need to make a confident decision: the different types of grab bars, exactly where each one belongs in your bathroom, how to choose the right size and material, and what to watch out for during installation. Whether you're planning ahead for yourself or helping a parent stay safe and independent at home, you'll leave this page knowing precisely what to do next.
Why Grab Bars Matter More Than You Think
The bathroom is uniquely challenging because every movement in it involves a transition — stepping over a tub ledge, lowering yourself onto a toilet seat, rising from a seated position while wet and off-balance. Physical therapists often point out that it's not the shower itself that causes falls; it's the moment of transfer, when your weight shifts from one surface or position to another, that carries the greatest risk. A grab bar positioned correctly at those transition points gives the body a stable anchor, breaking the transfer into a controlled, supported movement instead of a leap of faith.
This matters even more for people recovering from surgery, managing arthritis, or navigating reduced balance — not because they're fragile, but because they're smart enough to build their environment around what their body actually needs right now. A grab bar is not a sign of limitation. It's an investment in staying independent on your own terms, in your own home.
Types of Grab Bars: Which One Does What
Not every grab bar is designed for the same job. Choosing the wrong type for a location reduces its usefulness — and in some cases, can create a false sense of security. Here's a plain-language breakdown of the main styles and where each one earns its keep.
Straight Grab Bars
The most common and versatile type. Straight bars can be mounted horizontally, vertically, or at a diagonal depending on where you need support. A horizontal bar along a shower wall gives continuous balance support while standing or moving; a vertical bar at a shower entry gives you a pole to grip as you step over the threshold. Physical therapists often recommend a diagonal or angled install near shower seats because it serves users at both seated and standing heights with a single bar — a practical advantage for anyone whose strength or mobility may change over time.
Angled (L-Shaped or 45-Degree) Grab Bars
Angled bars feature a bend — often at 45 degrees or forming an L — that naturally supports the hand as it moves from one position to another. They work especially well near the toilet and bathtub, where you'll be transitioning from seated to standing. The shape means one section of the bar is at the right height when you're seated and pushing up, while the other section is at the right height once you're standing.
Flip-Up (Swing-Up) Grab Bars
Hinged at the wall and able to fold flat when not in use, flip-up bars are popular in bathrooms used by multiple family members. They stay out of the way until needed, then swing down to provide support. These are a smart choice for toilet areas in shared bathrooms where not everyone needs constant access to a side bar.
Suction Cup Grab Bars
Suction cup bars require no drilling and can be repositioned easily, which makes them appealing for renters or as a temporary solution. However, they are not a substitute for wall-mounted bars in high-load situations. They work only on smooth, non-porous surfaces and can fail without warning under full body weight. If someone needs a bar for actual transfer support — pushing up from a tub or steadying a step over a threshold — a permanent wall-mounted bar is the only safe choice.
Where to Install Grab Bars: Zone-by-Zone Guide
The three highest-risk zones in any bathroom are the shower entry, the bathtub, and the toilet area. Each one presents different transfer challenges, so the placement strategy for each is slightly different. Here's what physical therapists and safety experts consistently recommend.
In the Walk-In Shower
The entry point is where most shower falls happen — the moment you lift one foot to step over the curb while your entire body weight is on the other foot. An entry grab bar installed vertically, about 4 to 6 inches inward from the shower door jamb, gives you something to grip during that vulnerable transfer. For users who also use a shower chair, consider a longer bar (up to 36–48 inches) so it remains reachable from both seated and standing positions.
Inside the shower, a horizontal side wall bar installed at 33 to 36 inches from the floor provides balance support while standing, washing, or reaching for products. If your shower has a seat or bench, a second bar on the back wall — positioned roughly 9 inches above the seat — gives you something to push from when standing up. For most people, two bars (entry plus one side wall bar) provide basic safety coverage; four bars (entry, side wall, back wall, and a bar near the shower seat or faucet wall) provide more comprehensive protection for those with greater balance challenges.
Quick reference — walk-in shower:
- Entry bar: Vertical, 4–6 inches from door jamb, height to suit user's reach
- Side wall bar: Horizontal, 33–36 inches from floor, centered on the wall
- Back wall bar (if shower seat present): Horizontal, about 9 inches above seat height
- Faucet wall bar: Vertical or diagonal, near the controls for balance while adjusting water
In the Bathtub
The bathtub presents two distinct challenges that a single bar rarely solves on its own. Stepping in requires balance on one leg while swinging the other over a wall that's typically 14 to 16 inches high. Getting out — especially after a warm soak — is even harder, because the muscles are relaxed and the surfaces are wet. Physical therapists often recommend two bars for tub areas: one to assist with entry and exit, and one to help with rising from a seated position on the tub floor.
Place an entry grab bar vertically, about 4 to 6 inches inward from the tub entry point on the faucet wall. A length of 24 to 36 inches is typical; going shorter than 18 inches limits how far the bar reaches toward the tub floor, making it hard to grip when seated. A side wall horizontal bar — ideally spanning most of the tub's length, centered on the long wall at around 30 inches from the tub floor — gives continuous support when seated, while bathing, and when pulling yourself to standing before exiting.
One often-overlooked detail: also consider a bar positioned just outside the tub, on the exterior wall near the entry point. Many bathroom injuries actually happen as the person exits and reaches for support that's already out of reach. An exterior bar ensures there's always something to grab at the critical last moment of the transfer.
Quick reference — bathtub:
- Entry bar: Vertical, 4–6 inches from tub entry on faucet wall, 24–36 inches long
- Side wall bar: Horizontal, centered on long wall, approx. 30 inches from tub floor, 36–48 inches long
- Exterior bar (optional but recommended): Vertical or diagonal, on the wall just outside the tub entry
Next to the Toilet
Toilet transfers are among the most common causes of bathroom injury in older adults, and they're easy to underestimate — partly because the toilet is used so frequently and partly because people don't tend to think of it as a "high-risk" zone the way they do the shower. Getting up from a low seat requires significant leg strength and balance, and that demand only increases after surgery or with age-related changes in strength.
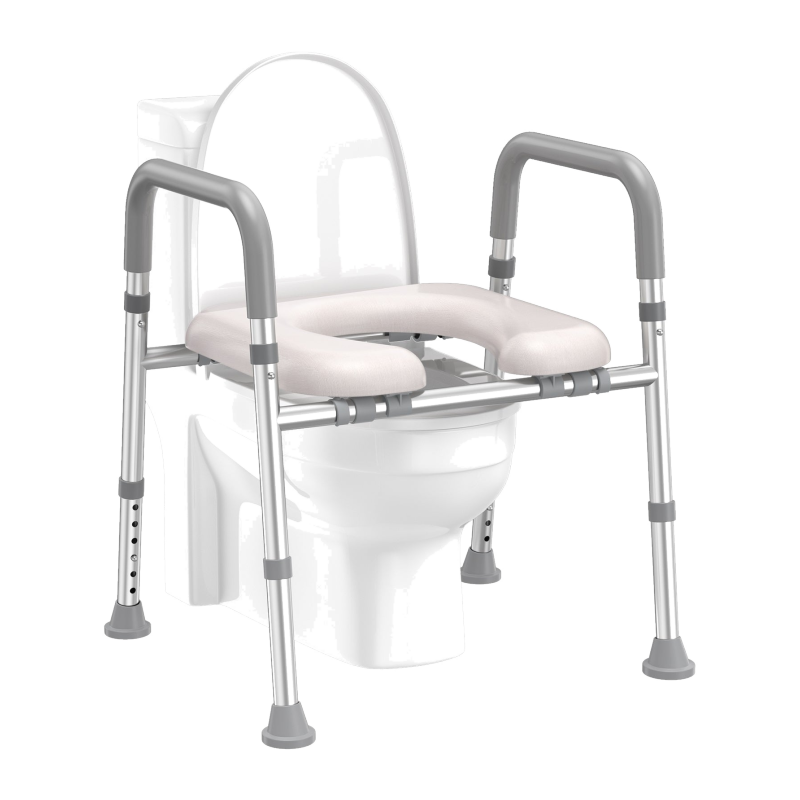
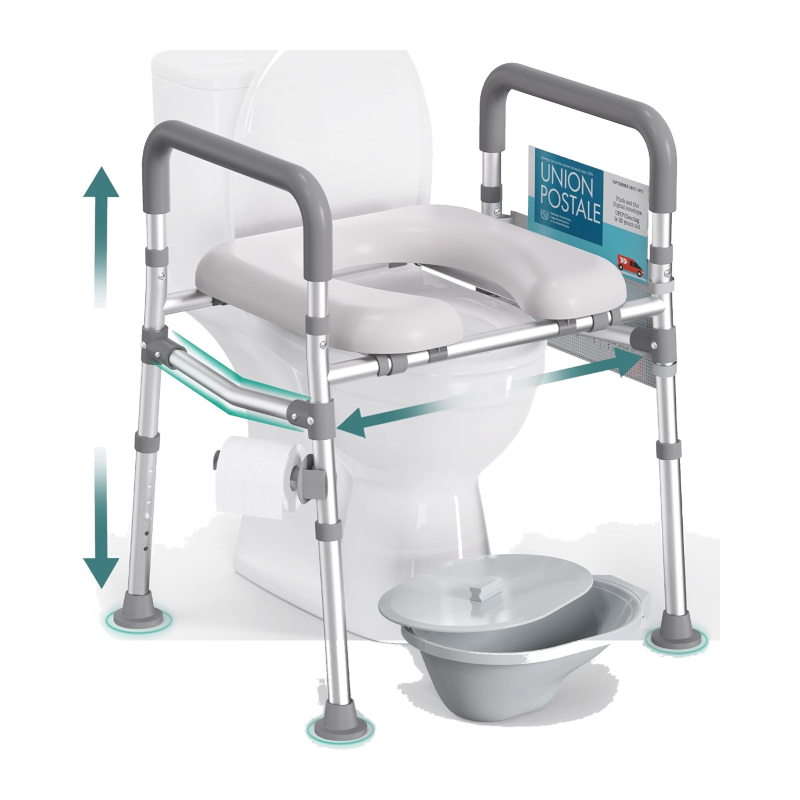
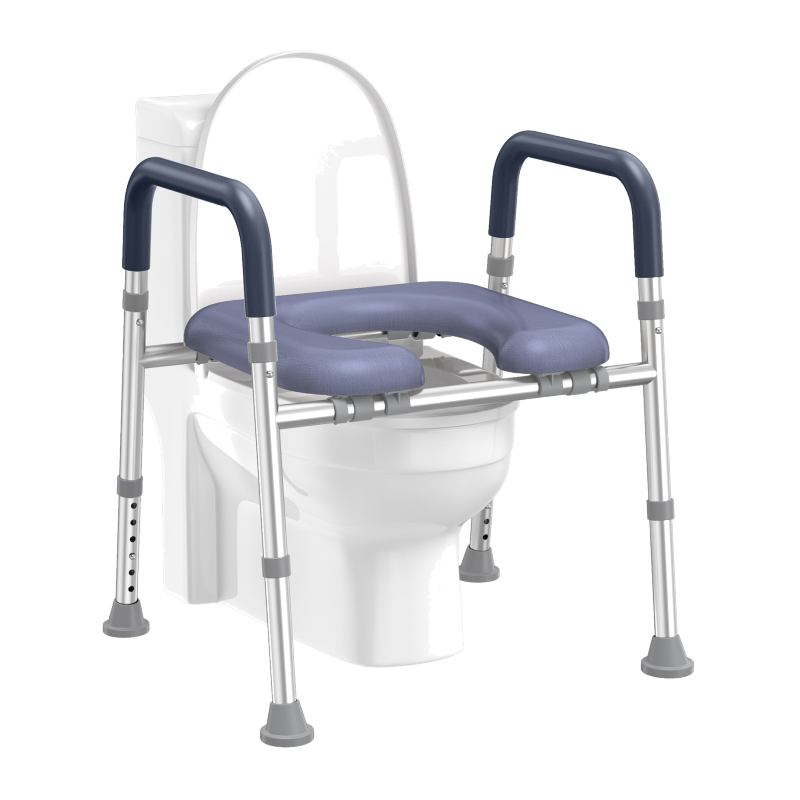
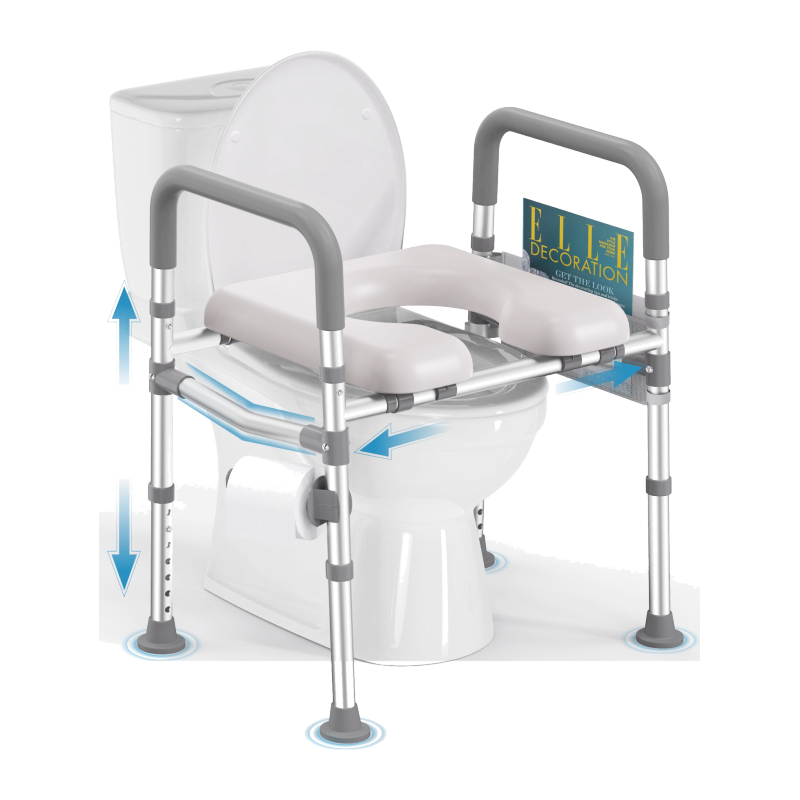
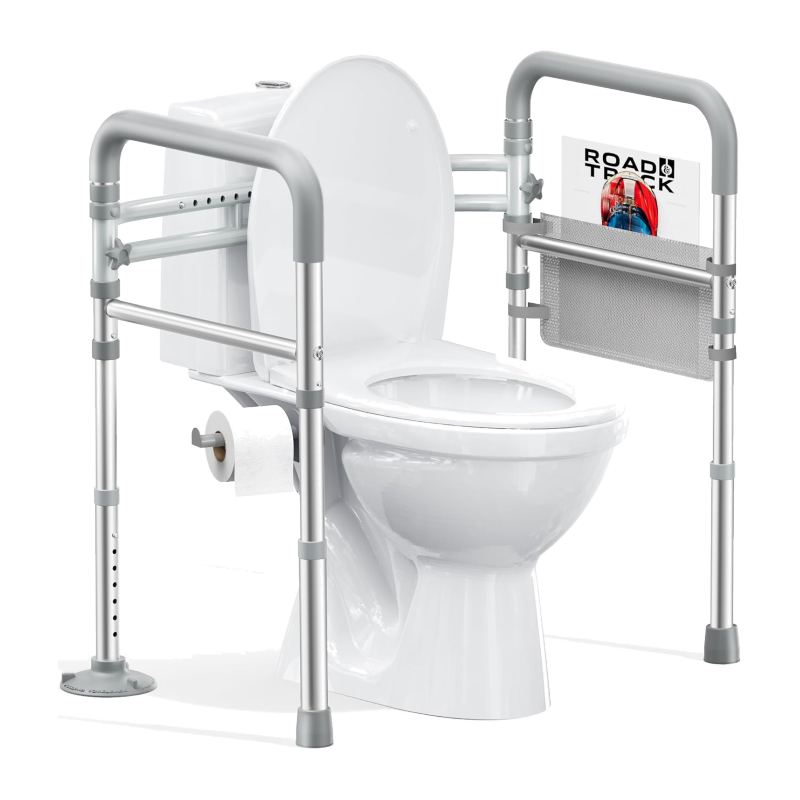
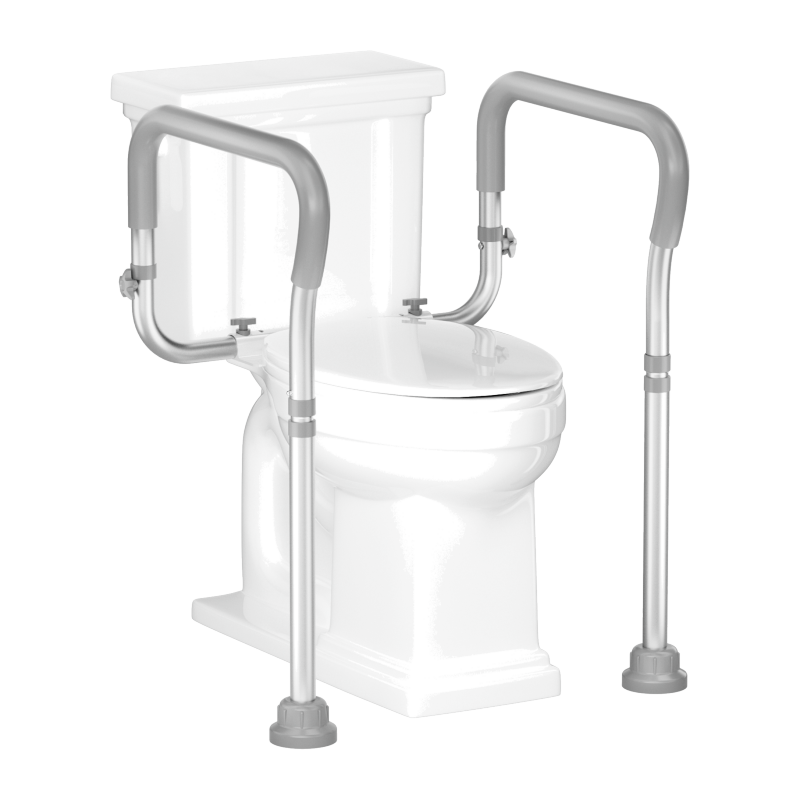
The primary side wall bar should be mounted horizontally, 33 to 36 inches from the floor, positioned so it sits roughly 6 inches in front of the front edge of the toilet bowl — this puts it exactly where your hand naturally reaches when you push up from seated. A bar of at least 24 inches gives you enough surface to grip from multiple positions during the movement. If the user needs support on both sides, a flip-up bar on the open side of the toilet, or a toilet safety rail that mounts directly to the toilet base, is an excellent complement to the wall bar. A rear wall bar behind the toilet can also help users who need bilateral (both-sides) support during transfers.
Quick reference — toilet area:
- Side wall bar: Horizontal, 33–36 inches from floor, 6 inches in front of toilet bowl
- Rear wall bar (if needed): Horizontal, same height, behind the toilet
- Opposite side: Flip-up bar or toilet safety rail for bilateral support
How to Choose the Right Grab Bar
Once you know where each bar goes, the next question is which bar to choose. A few key factors make the difference between a bar that genuinely protects and one that looks fine but falls short when it matters most.
Length
Grab bars typically range from 12 to 48 inches. For most horizontal uses in showers and tubs, a 24- to 36-inch bar provides the right coverage. Vertical entry bars at tub edges and shower doorways commonly run 18 to 24 inches. Choosing too short a bar limits your grip range; too long and it may not anchor securely into available studs. Match the length to the specific transition the bar needs to support — and when in doubt, go longer rather than shorter.
Diameter
A diameter between 1.25 and 2 inches gives most users a secure, natural grip. Bars on the thinner end of that range tend to suit users with smaller hands or reduced grip strength. Bars at the upper end provide a sturdier feel for heavier users or those who put significant force through the bar during transfers.
Weight Capacity
Always choose a grab bar rated to support a minimum of 250 lbs — this is the ADA's baseline standard for grab bar structural performance. For heavier users or those who put significant body weight through the bar during transfers, look for bars rated at 300 to 500 lbs. The rating refers to the bar and mounting hardware combined, which is why correct installation into studs (or rated anchors) is inseparable from the weight capacity figure.
Material and Finish
Stainless steel is the go-to for bathroom grab bars: it resists rust and corrosion in humid environments, holds up to daily use, and maintains its appearance for years. A brushed or satin finish provides better grip than a polished mirror surface when hands are wet. Vinyl-coated or textured bars offer a warmer feel underhand — particularly useful for users with arthritis or reduced grip strength who may find a bare steel bar uncomfortable in cold weather.
Orientation: Vertical, Horizontal, or Diagonal?
Each orientation serves a different function. Vertical bars are best for entry and exit points — they're ideal for the moment when you're stepping and need a stable pole to grip. Horizontal bars provide continuous support along a wall while standing or moving laterally, and they're the workhorse bar for shower walls and toilet areas. Diagonal bars (typically at 45 degrees) are excellent near shower seats and tubs, because the angle serves users at both seated and standing heights — a single bar that works across the full arc of a transfer movement.
Installation Basics: What to Know Before You Drill
A grab bar is only as strong as what it's anchored into. This is the most important installation truth, and it's worth understanding before anything else. Drywall alone will not hold under the forces applied during a real transfer — you need to anchor into wall studs (the wood or metal framing behind the wall surface) or use properly rated hollow-wall anchors designed specifically for grab bar loads.
Wall studs are typically spaced 16 inches apart on center, which doesn't always line up with where the bar needs to go. When studs aren't where you need them, heavy-duty toggle bolts or specialty hollow-wall anchors rated for 250 lbs or more are an acceptable alternative — but basic plastic expansion anchors are not. If you're mid-remodel with walls open, the best long-term move is to add a horizontal wood backer board between studs, giving yourself a solid mounting surface at any point along that wall in the future.
One practical tip physical therapists often pass along: before marking any holes, have the person who will use the bar stand in position — at the shower entry, beside the toilet, next to the tub — and reach naturally for where their hand wants to go. Mark that point with painter's tape. That's where the bar belongs, not just where the studs happen to be. The actual user's natural reach should drive placement decisions more than any standard measurement chart.
A bead of silicone sealant applied around each mounting flange before tightening keeps water from getting behind the bar and damaging the wall over time — especially important in tile and fiberglass surrounds.
Common Mistakes to Avoid
A few missteps come up repeatedly when people install grab bars for the first time. Knowing them in advance saves both effort and risk.
- Using a towel bar as a grab bar. Towel bars are designed to hold towels, not body weight. They're typically anchored with lightweight hardware and will pull free under sudden load — exactly the scenario where a grab bar matters most. Always install a purpose-built, weight-rated grab bar.
- Installing too high. A bar placed too high is unreachable at the moment of need — particularly from a seated position. Test the height with the actual user before committing to holes.
- Relying solely on suction bars for primary support. Suction bars have a place as temporary or supplemental aids, but they should never be the only support at a high-load transition point like the tub entry or toilet area.
- Installing only one bar in the shower. A single entry bar is a starting point, not a complete setup. Adding a side wall bar dramatically expands the coverage and support available once the user is inside the shower.
- Skipping the silicone seal. Water intrusion behind mounting flanges, especially in tile surrounds, can silently rot the substrate and compromise the bar's anchoring over months or years.
Complete the Picture: Pairing Grab Bars with Other Safety Aids
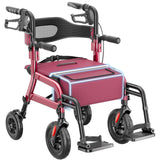
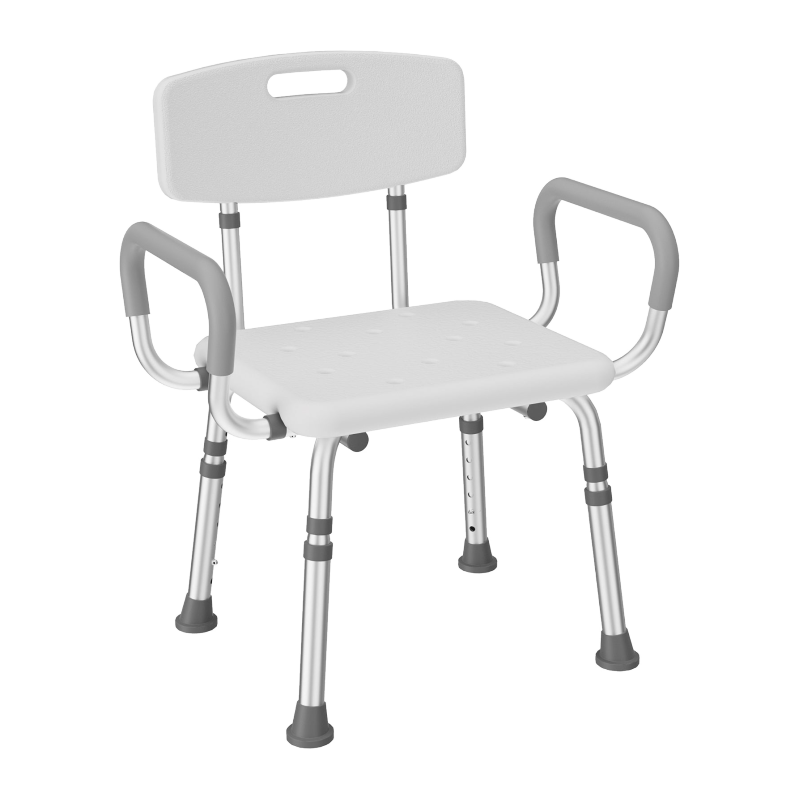
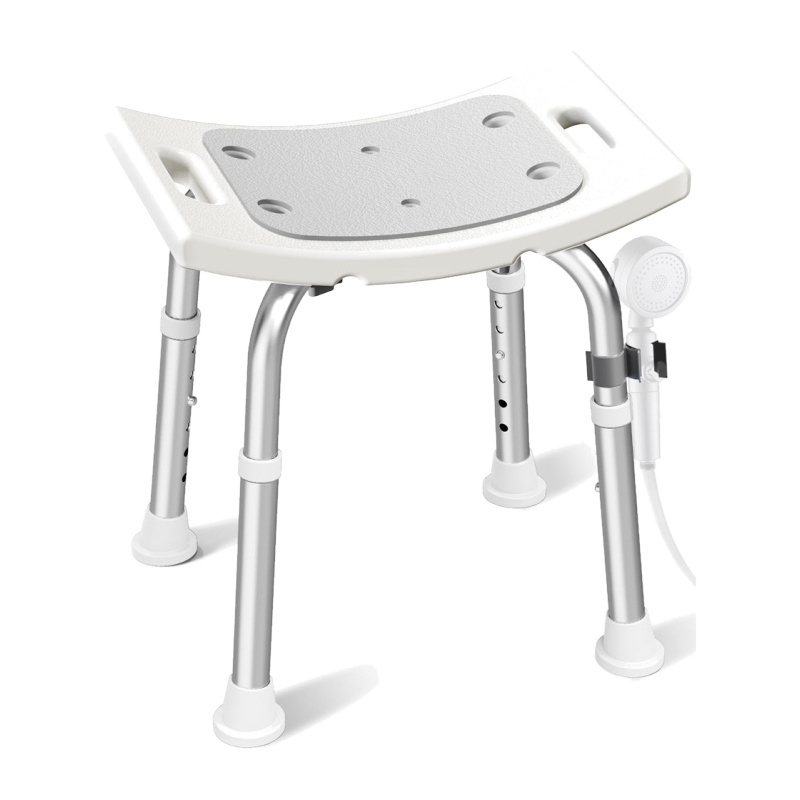
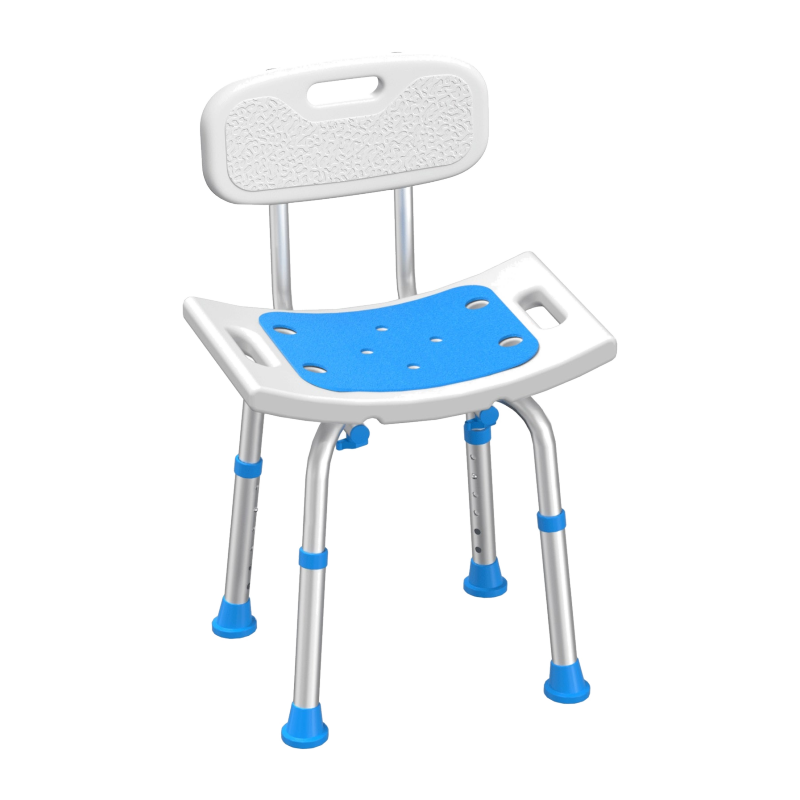
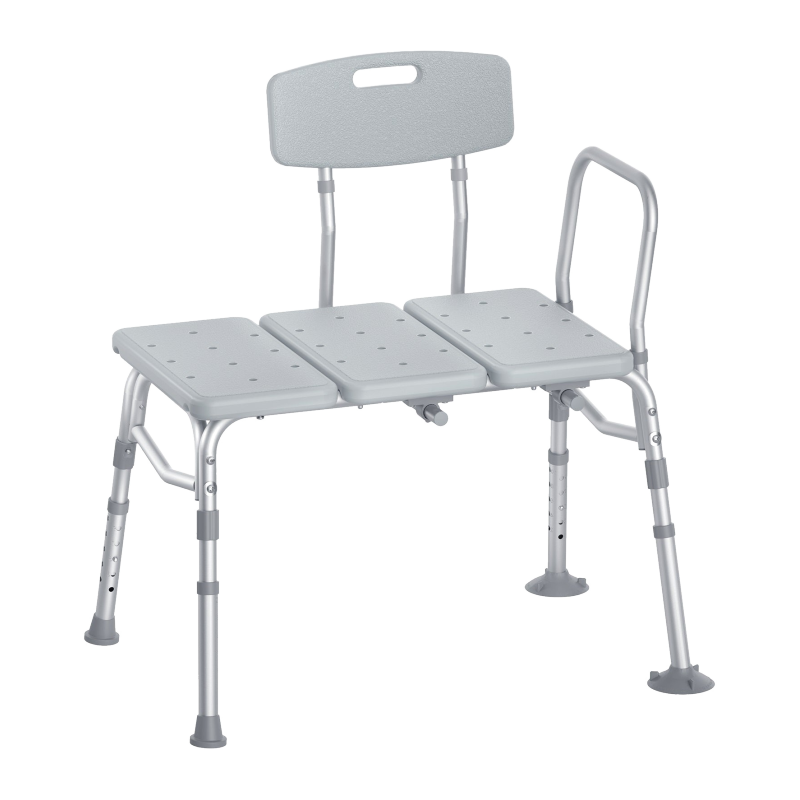
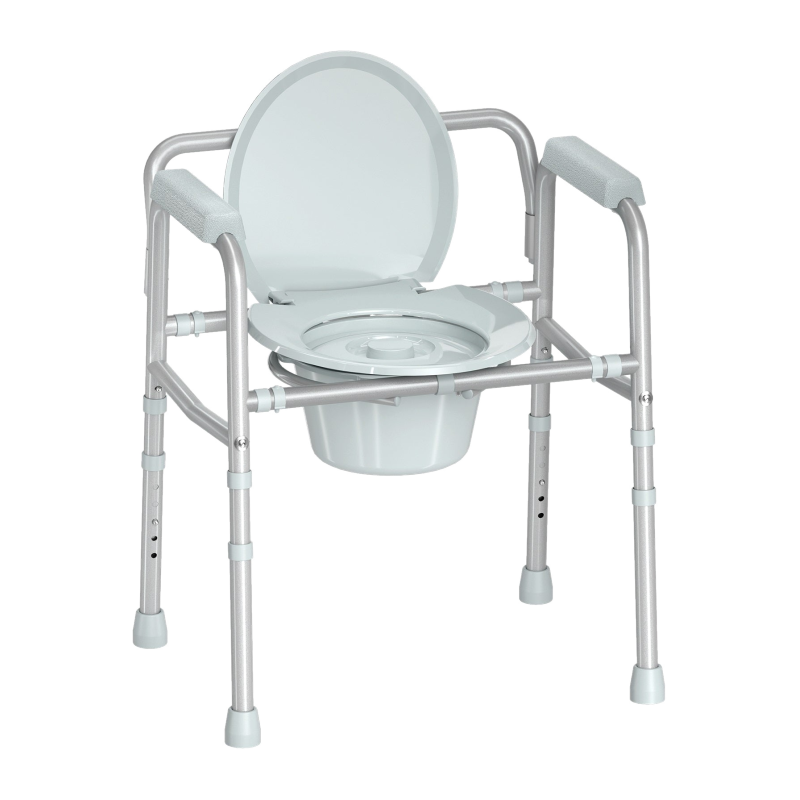
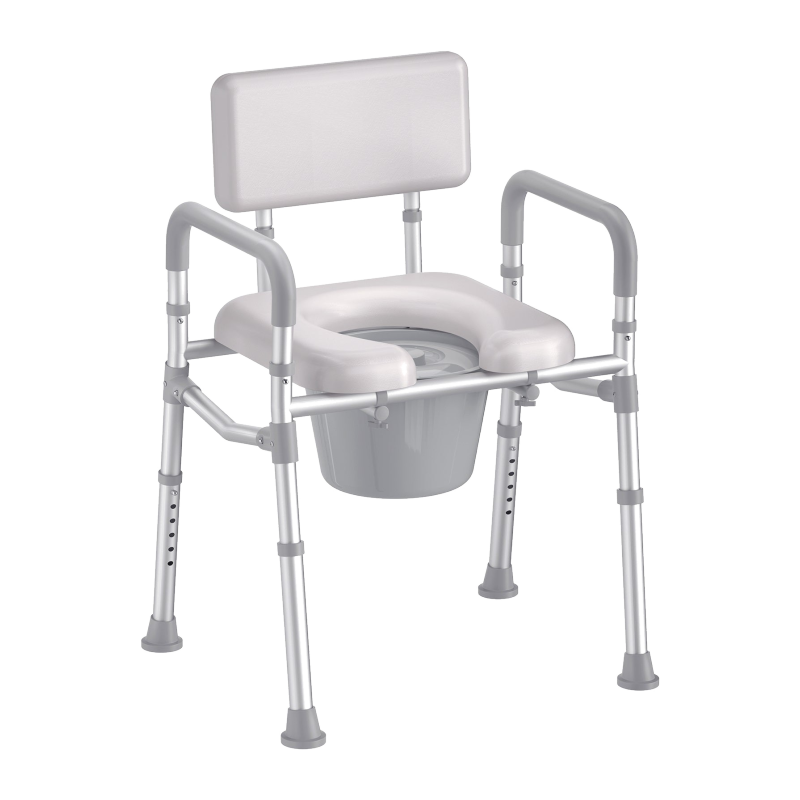
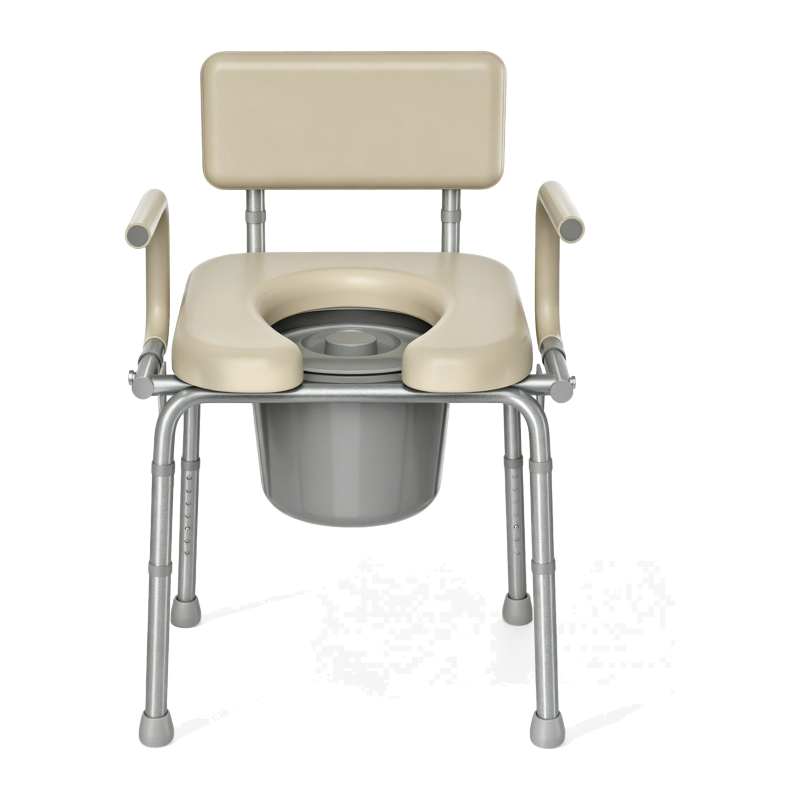
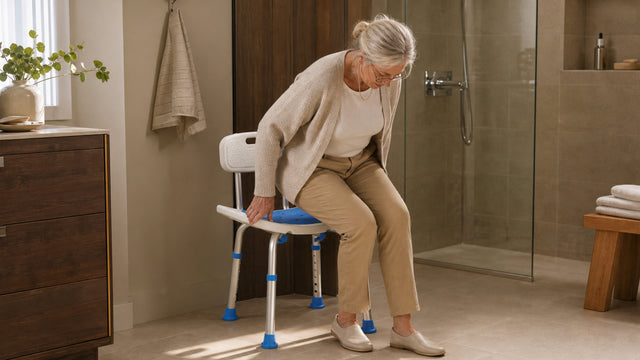
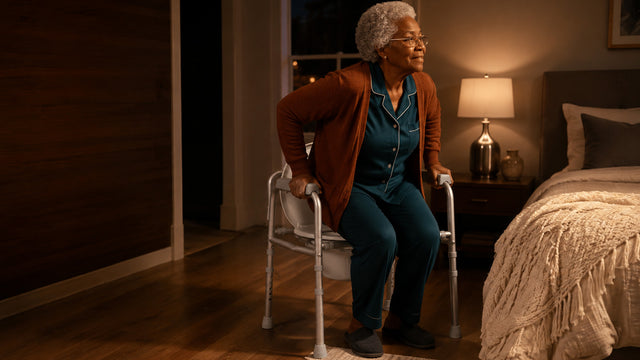
Grab bars do their best work as part of a broader bathroom safety setup rather than a standalone fix. A shower chair or bench reduces the physical demand of standing through an entire shower — and when paired with a well-placed grab bar on the back wall or side wall, it creates a fully supported seated showering experience. For the toilet area, a toilet safety rail adds armrest-style support on both sides without any wall drilling, making it a great complement to or temporary substitute for a wall-mounted grab bar.
Non-slip bath mats inside the tub and shower — and on the bathroom floor just outside — work alongside bars to address the floor-level slip risk that grab bars alone don't cover. Good lighting, especially for anyone who uses the bathroom at night, rounds out the picture. Physical therapists who specialize in home safety often describe it this way: the goal isn't to install one thing; it's to remove every point in the bathroom where a fall could start. Grab bars eliminate the transfer risk. Mats eliminate the slip risk. Good lighting eliminates the disorientation risk. Together, they give the bathroom back its status as a place of everyday independence.
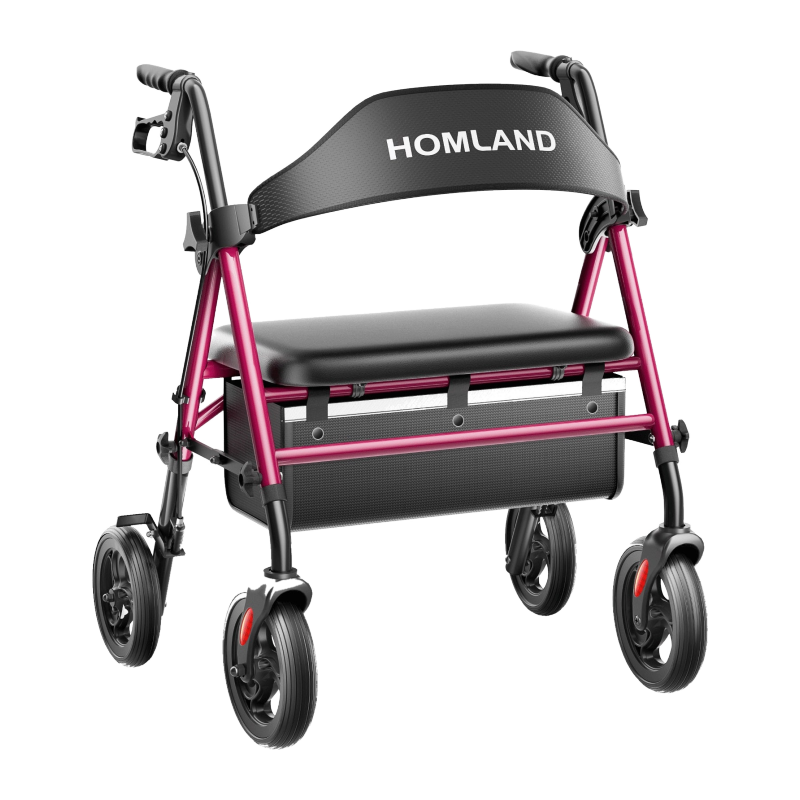
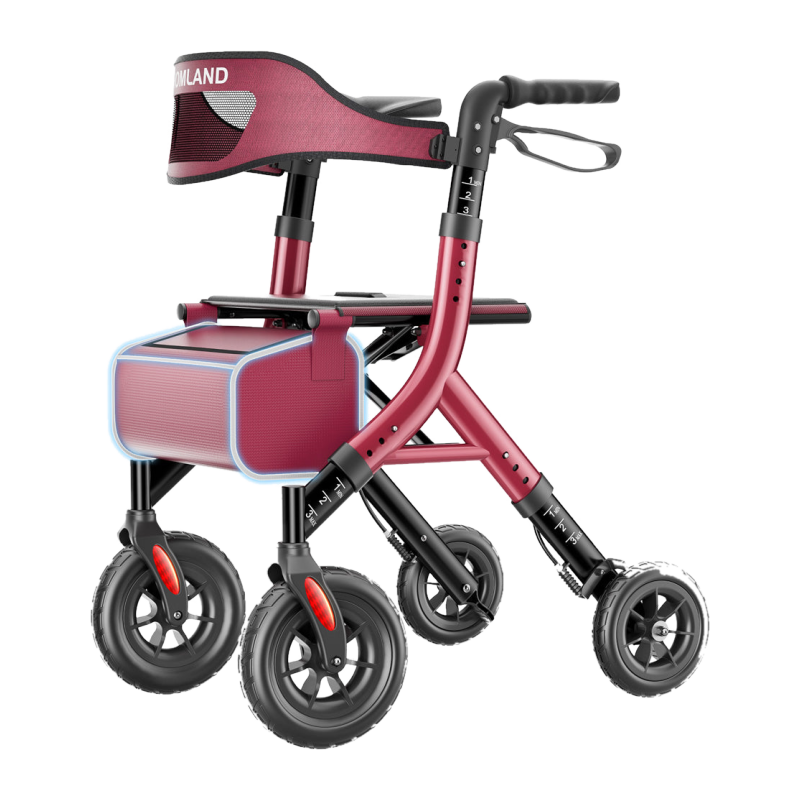
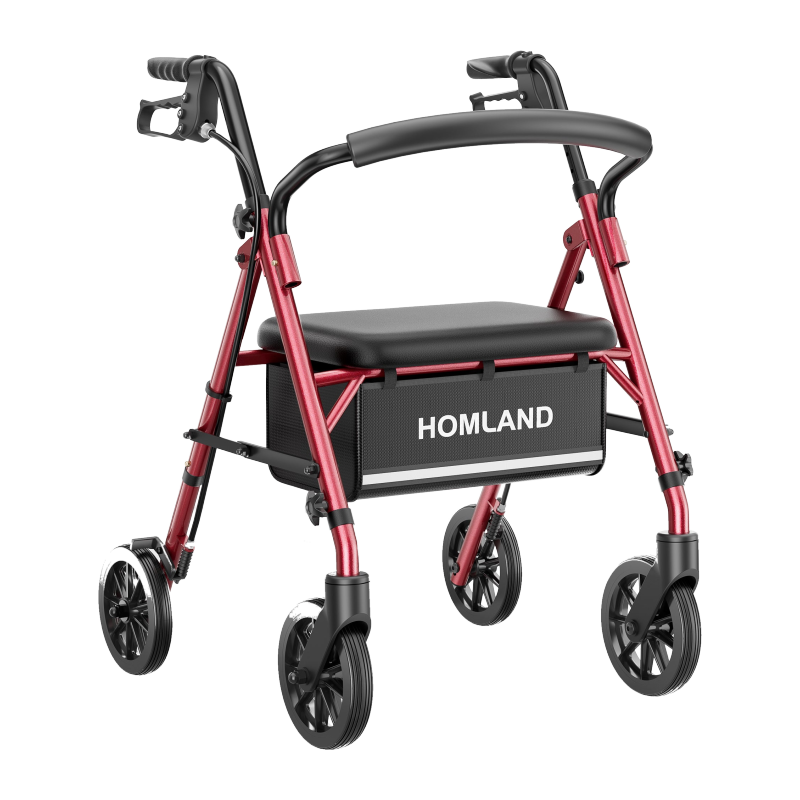
If you're exploring a more complete home safety plan, the full HOMLAND product range — all FSA/HSA eligible, backed by a 1-year manufacturer warranty plus 1-year extended warranty, and shipped fast from US local warehouses — is a good place to see what else might support daily routines at home.
The Bottom Line
A bathroom grab bar is a small addition that changes the daily experience in the room where falls are most likely to happen. The right bar in the right place gives you something solid and reliable at the exact moment a transition gets hard — stepping over a tub ledge, rising from the toilet, steadying yourself while reaching for the shampoo. The wrong bar, or no bar at all, leaves those moments unprotected.
Use this guide as your practical reference: start with the three key zones (shower entry, tub wall, and toilet side), choose a wall-mounted bar rated for at least 250 lbs, anchor it into studs or rated hardware, and position it where the user's hand naturally reaches — not just where the measurements suggest. Physical therapists recommend doing a full walk-through simulation of the bathroom routine before finalizing placement, and it's some of the best advice in the space.
For caregivers making these decisions on behalf of a parent or loved one: choosing quality, properly installed grab bars is one of the most concrete acts of care you can take. It doesn't diminish independence — it protects it.
Have Questions About Bathroom Safety at Home?
The HOMLAND team is here to help you find the right combination of safety aids for your home, your routine, and your needs. All products are FSA/HSA eligible, authorized by licensed Doctors of Physical Therapy, and backed by a 2-year total warranty — with fast shipping from US local warehouses.
Contact Us Today